Never Say Die: Persistent Data with a CDC MinIO Sink for CockroachDB

CockroachDB scurries onto the database scene as a resilient and scalable distributed SQL database. Drawing inspiration from the tenacity of its insect namesake, CockroachDB boasts high availability even in the face of hardware failures. Its distributed architecture spans multiple nodes, mirroring the adaptability of its insect counterpart.
With strong consistency and ACID transaction support, CockroachDB becomes a reliable choice for applications requiring data accuracy and reliability, thriving in dynamic environments and effortlessly managing the complexities of distributed data.
This blog introduces using MinIO as a changefeed sink for CockroachDB. By doing so, you not only benefit from CockroachDB's strengths but also leverage the durability, scalability, and performance of MinIO. Use this as a guide to establishing an enterprise-grade CDC strategy. It is inspired by this awesome repo.
What is CDC?
CDC is a smart database management technique that tracks and captures changes in a relational database like CockroachDB. It acts like a monitor, detecting CRUD Operations like INSERTS, UPDATES and DELETES in real time.
CDC's strength lies in its ability to identify only the altered data, making it more efficient in terms of network bandwidth and expense than traditional methods of replication. This efficiency is crucial for tasks like data integration, real-time analytics, and maintaining consistency across distributed systems. CDC is truly a prerequisite for real-time connected data fabrics and remains a fundamental tool for keeping databases synchronized and maintaining reliability in dynamic data environments.
This continuous stream of real-time data updates provides a rich foundation for training and optimizing machine learning models which require huge volumes of up-to-date data for success.
Changefeed Sinks with CockroachDB
Changefeed sinks in CockroachDB are like data pipelines that efficiently funnel CRUD operations happening in the database to an external destination. In this instance, MinIO serves as one such destination. When configured as a sink, MinIO becomes the repository for the continuous stream of changes, offering a durable and scalable storage solution for CDC operations.
One benefit of this approach is that you can use CDC data in your MinIO bucket to replicate your data strategy across clouds. For example, If your CockroachDB is hosted in AWS, but you need your data on-prem for your models to run, you can do that with this approach. This can be an effective way to implement a multi-cloud data strategy.
Prerequisites
To follow this guide, make sure you have Docker Compose installed. You can install Docker Engine and Docker Compose separately or together using Docker Desktop. The easiest way is to go for Docker Desktop.
Check if Docker Compose is installed by running this command:
docker-compose --versionYou will need a self-hosted, Enterprise license of CockroachDB. For this local deployment of CockroachDB, please note that CockroachDB on ARM for MacOS is experimental and is not yet ready for production.
Getting Started
To get started clone or download the project folder from this location.
Open a terminal window, navigate to the project folder and run the following command:
docker-compose up -dThis command instructs Docker Compose to read the configuration from the `docker-compose.yml` file, create and start the services defined in it, and run them in the background, allowing you to use the terminal for other tasks without being tied to the container's console output.
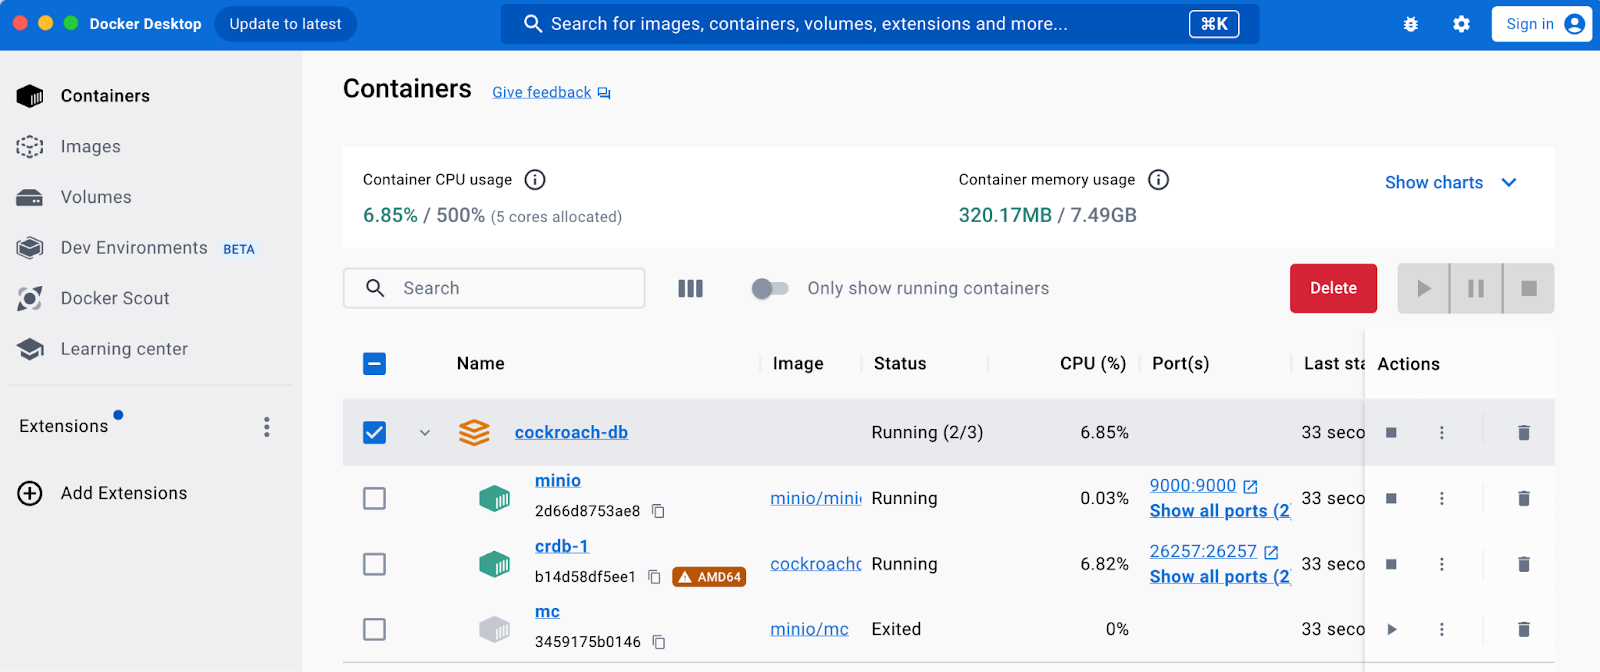
After running the command you should be able to see the containers are up and running.
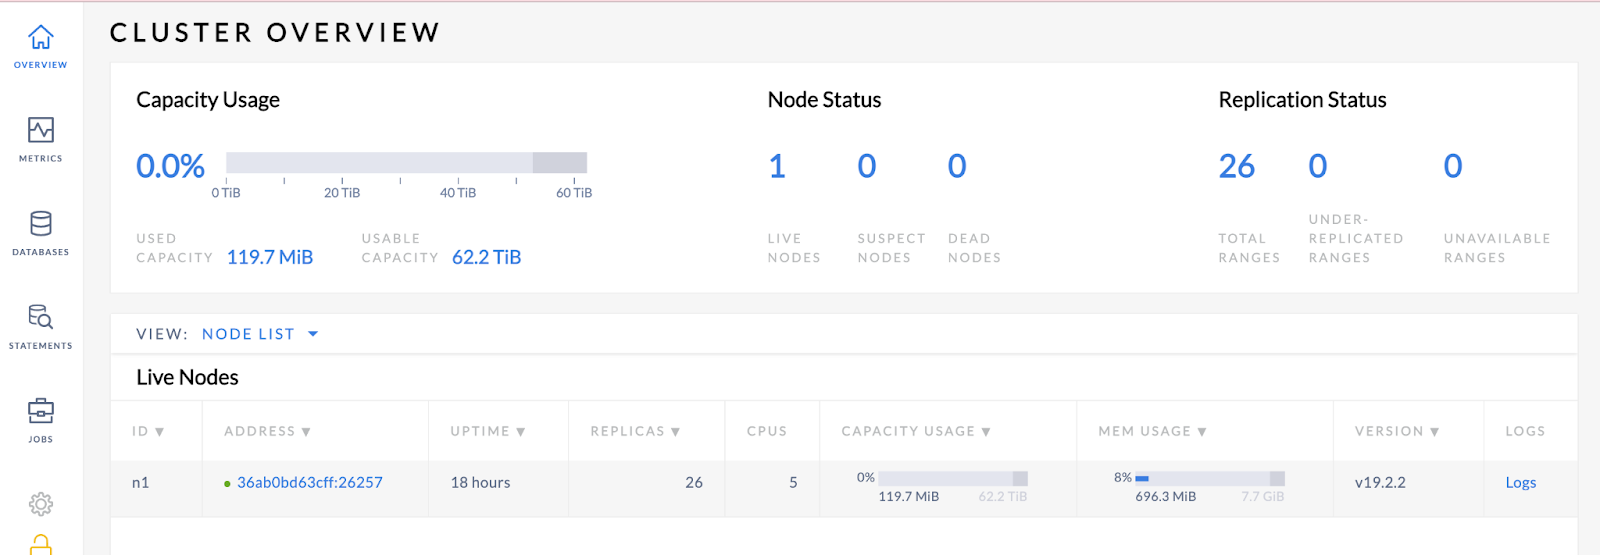
You can access the Cockroach UI at http://127.0.0.1:8080. Verify that your node is live.
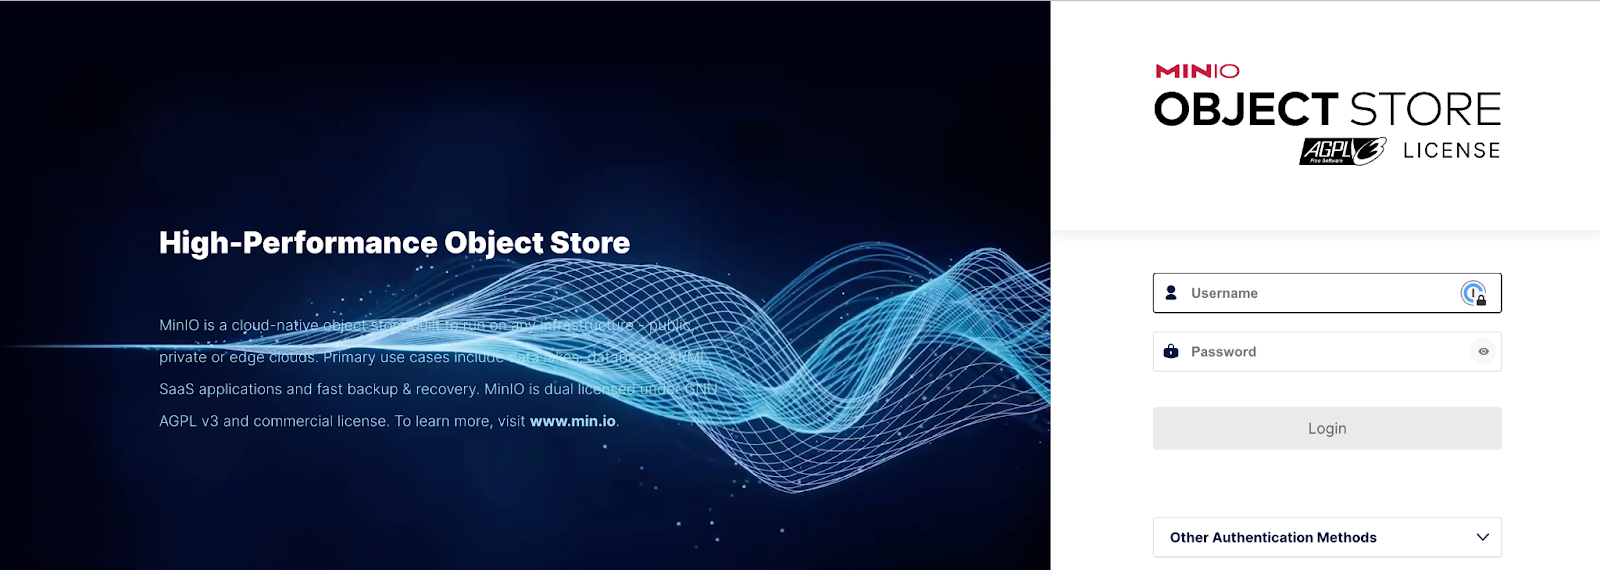
You can access the MinIO UI at http://127.0.0.1:9001. Log in with the username and password combination of minioadmin:minioadmin.
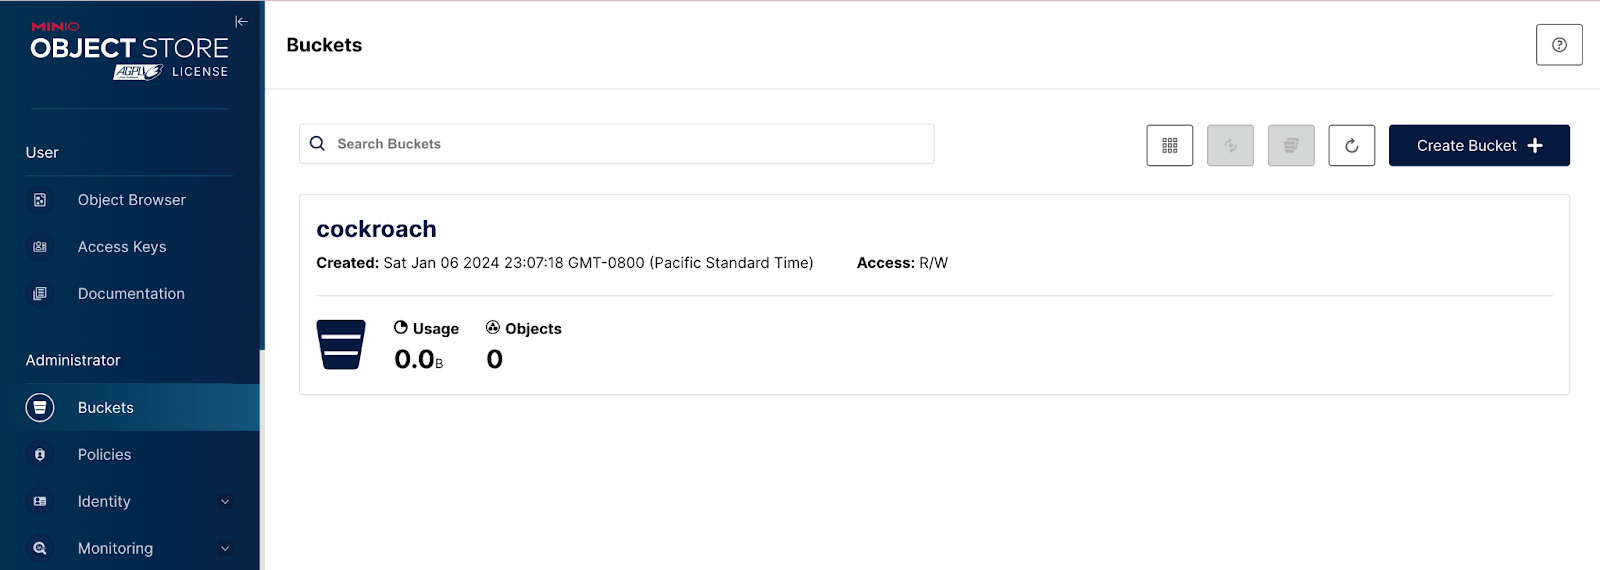
Once you log in, you should be able to verify that the mc command in the docker-compose.yml was executed and a bucket named cockroach was automatically created.
SQL Commands
Once your containers are up and running, you’re now ready to run SQL commands. Run the following command in a terminal window in the same folder where you downloaded the tutorial files and started your containers. This command executes an interactive SQL shell inside the crdb-1 container, connecting to the CockroachDB instance running in that container, and allowing you to enter SQL queries.
docker exec -it crdb-1 ./cockroach sql --insecureYou should see the following if you executed the shell correctly.
#
# Welcome to the CockroachDB SQL shell.
# All statements must be terminated by a semicolon.
# To exit, type: \q.
#
# Server version: CockroachDB CCL v19.2.2 (x86_64-unknown-linux-gnu, built 2019/12/11 01:33:43, go1.12.12) (same version as client)
# Cluster ID: 0a668a2d-056d-4203-a996-217ca6169f80
#
# Enter \? for a brief introduction.
#
As noted in the prerequisites, you need an Enterprise CockroachDB account to set up CDC. Use the same terminal window to enter the next commands.
SET CLUSTER SETTING cluster.organization = '<organization name>';

SET CLUSTER SETTING enterprise.license = '<secret>';

SET CLUSTER SETTING kv.rangefeed.enabled = true;
Crushing CDC
You can now build your database and tables. The SQL below creates a new database named ml_data, switches the current database context to ml_data, creates a table named model_performance to store information about machine learning models, and inserts two rows of data into this table representing the performance metrics of specific models. Execute these commands in the same terminal.
CREATE DATABASE ml_data;

SET DATABASE = ml_data;

CREATE TABLE model_performance (
     model_id INT PRIMARY KEY,
     model_name STRING,
     accuracy FLOAT,
     training_time INT);

INSERT INTO model_performance VALUES
   (1, 'NeuralNetworkV1', 0.85, 120),
   (2, 'RandomForestV2', 0.92, 150);
Next, run the following command to create a changefeed for the model_performance table in CockroachDB and configure it to stream updates to MinIO.
CREATE CHANGEFEED FOR TABLE model_performance INTO 'experimental-s3://cockroach?AWS_ACCESS_KEY_ID=minioadmin&AWS_SECRET_ACCESS_KEY=minioadmin&AWS_ENDPOINT=http://minio:9000&AWS_REGION=us-east-1' with updated, resolved='10s';Navigate to the Cockroach UI at http://127.0.0.1:8080 to verify that your changefeed has been successfully created and a high-water timestamp has been established.

Make a change to your data to see the changefeed in action.
UPDATE model_performance SET model_name = 'ResNet50' WHERE model_id = 1;Run the following command to make sure the command was executed.
SELECT * FROM model_performance ;
  model_id |   model_name   | accuracy | training_time
+----------+----------------+----------+---------------+
         1 | ResNet50       |     0.88 |           130
         2 | RandomForestV2 |     0.92 |           150
In a production environment, your transactions would populate MinIO without the need for this step.
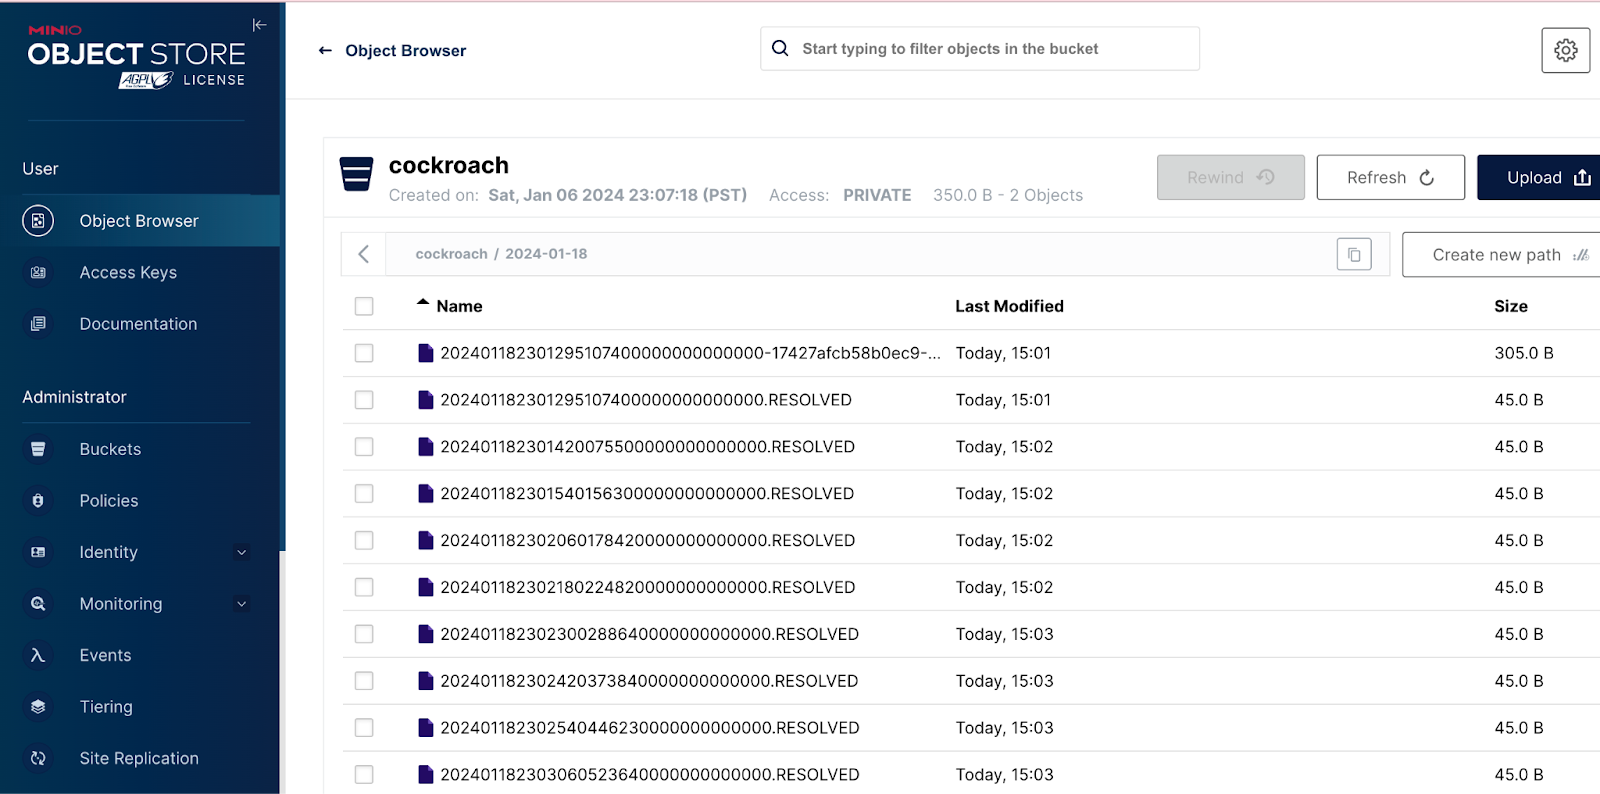
Navigate back to the MinIO UI at‘http://127.0.0.1:9001 to see your changefeed in action.
End of the Line
In this tutorial, you’ve gone through the process of creating a changefeed sink with MinIO to enable a CDC strategy for your enterprise-licensed CockroachDB.
This CDC strategy sets the stage for a resilient and continuously synchronized data fabric for your most critical data. When you absolutely need to have a perfect replica of your data for data exploration, analytics or AI applications the combination of CockroachDB and MinIO is your winning strategy.
Evolve what has been outlined here and you will continue to support better decision-making, facilitating AI/ML endeavors, and maintaining the reliability of your dynamic data environment.
Download MinIO today for all your cockroach-related needs. MinIO - CockroachDBs check-in, but they don't check out. Reach out to us if you have any questions or trouble with bugs at hello@min.io or on Slack.
I want to thank the folks at CockroachDB – big shoutout to John Billingsley – for helping us with this post.


