How to deploy MinIO with ArgoCD in Kubernetes

When we designed MinIO, we wanted to ensure its usage as object storage would be ubiquitous. With that in mind, we ensure that every MinIO release is able to run on a myriad of infrastructure and deployed via many different methods so it can be directly applied to each use case. Of course, MinIO runs on any of the public clouds, on-prem bare metal and edge devices, and on any Kubernetes distribution. Recently we wrote about how to deploy MinIO across a variety of environments using Rafay Systems.
Building on this momentum, we bring you another way to deploy MinIO, this time using ArgoCD. What is ArgoCD? In short, it's a GitOps continuous deployment tool that stores the state of the infrastructure in a Git repository and automates deployment by tracking the changes between the existing and new deployment configurations. MinIO was built to seamlessly drop into any CI/CD environment and GitOps has recently risen to prominence within this discipline because it adds simplicity and automation to your workflow. If you don't want to use a tool like ArgoCD (or just don’t want another new tool in the shed), MinIO has built-in features that will allow you to upgrade the version on the fly and scale this to over thousands of nodes without the need for any special tools or processes. You could also build upon this by running your own customized CI/CD GitOps pipeline to deploy and manage MinIO clusters. Because of the flexibility of MinIO you get to choose which deployment method works for you, there is no one size fits all approach here.
MinIO is a Kubernetes-native high performance object store with an S3-compatible API. The MinIO Operator supports deploying MinIO Tenants onto private, public and multi-cloud infrastructures. The MinIO Operator installs a Custom Resource Document (CRD) to support describing MinIO tenants as a Kubernetes object and the MinIO Kubernetes Plugin brings native support for deploying and managing MinIO tenants on a Kubernetes cluster using the kubectl minio command.
Kubernetes Cluster
Before we get started, let's set up a Kubernetes cluster to work with. You can use any vanilla Kubernetes deployment out there; in this tutorial blog post we’ll use a Kind cluster.
Create and open the following file
Add the following contents to define the configuration of the Kind cluster we want with the required open ports for ArgoCD, MinIO and a bunch of other components.
Create the Kind cluster using the configuration above. Be sure to delete any existing clusters first.
Installing ArgoCD
Once the Kubernetes cluster is up and running, let's install ArgoCD. Create a namespace for Argo and then apply the ArgoCD Kubernetes yaml from the ArgoCD GitHub repo.
Expose the ArgoCD argo-server service externally, so you can manage apps with Argo. We suggest NodePort because it is more configurable and stable than port-forward, but feel free to use any method as long as it works. Just make sure the port you are exposing matches the ports opened by the Kind cluster.
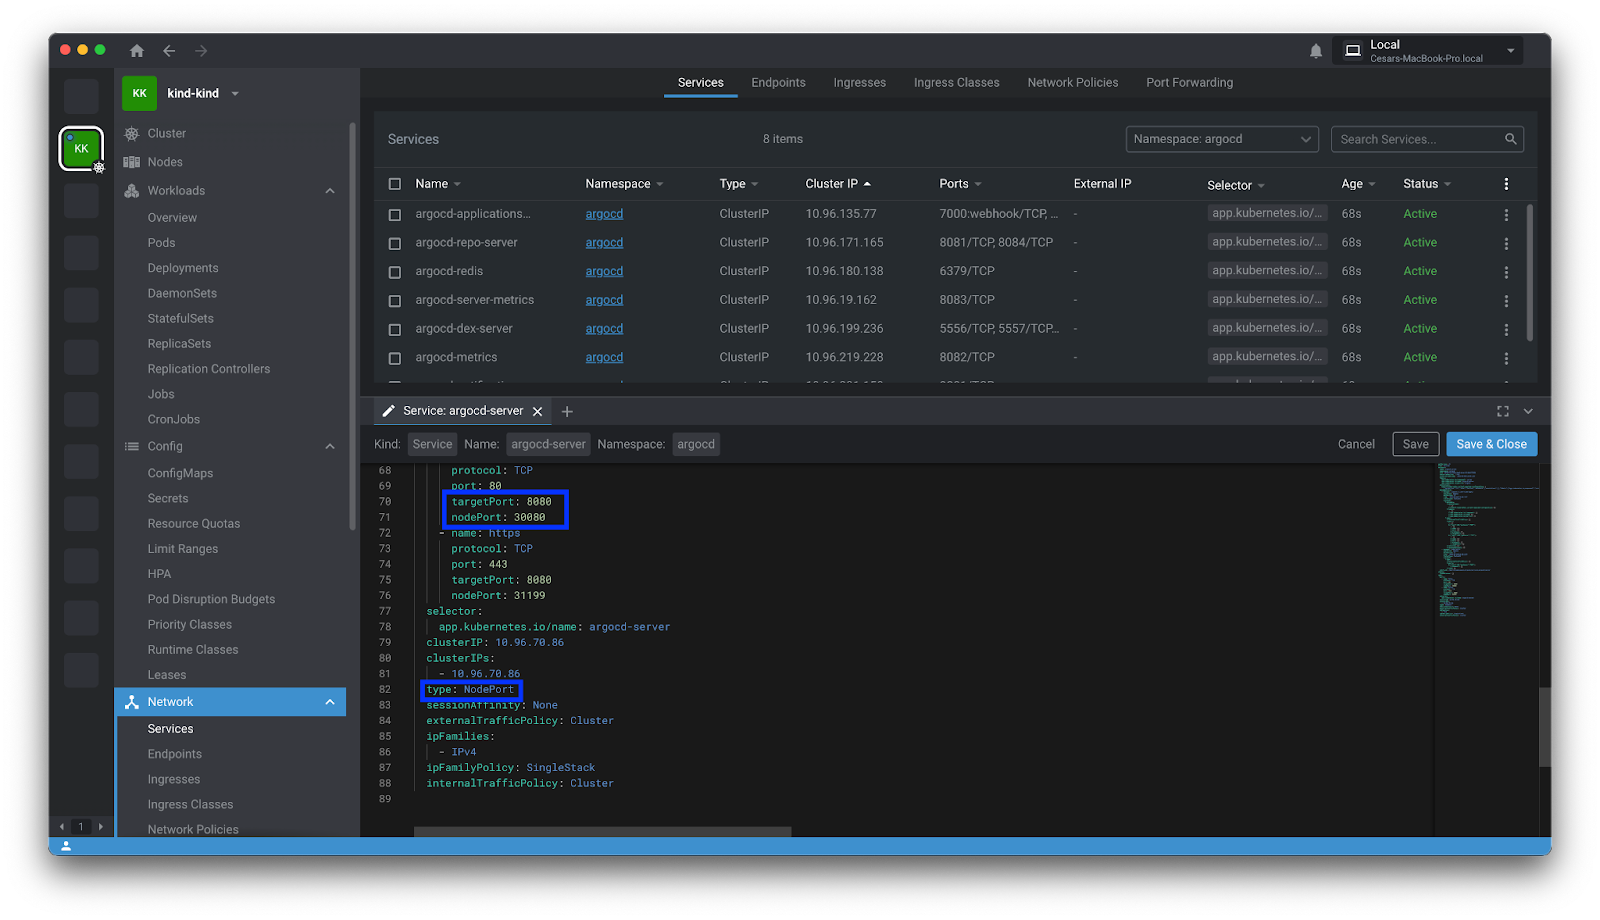
Once the port is exposed, open a browser and go to the following URL http://localhost:30080/
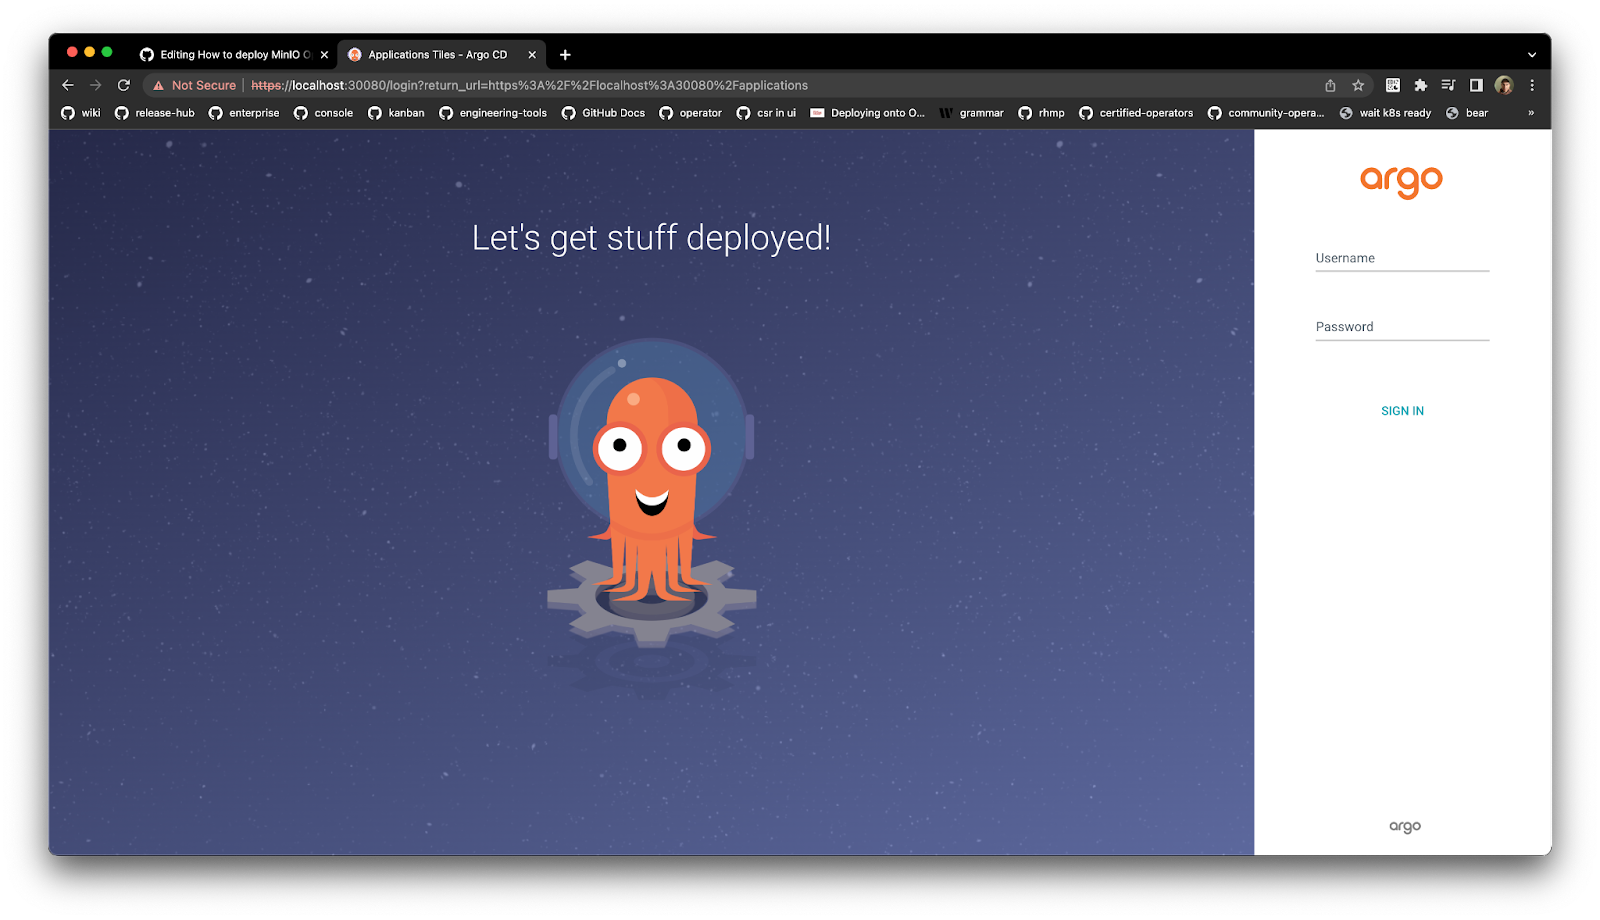
To log in to the ArgoCD UI, let’s get the initial password by running the following command
Once you have the password, log in using the following command
For security purposes, let’s change this default password
Last, but not least, let's tell ArgoCD to use the Kind cluster we setup earlier
Deploy The MinIO Operator
At this point we should have all the foundations required for us to deploy The MinIO Operator using ArgoCD. Lets create a namespace called minio and create an app in ArgoCD called MinIO
Using the newly set password to ArgoCD, login to the UI
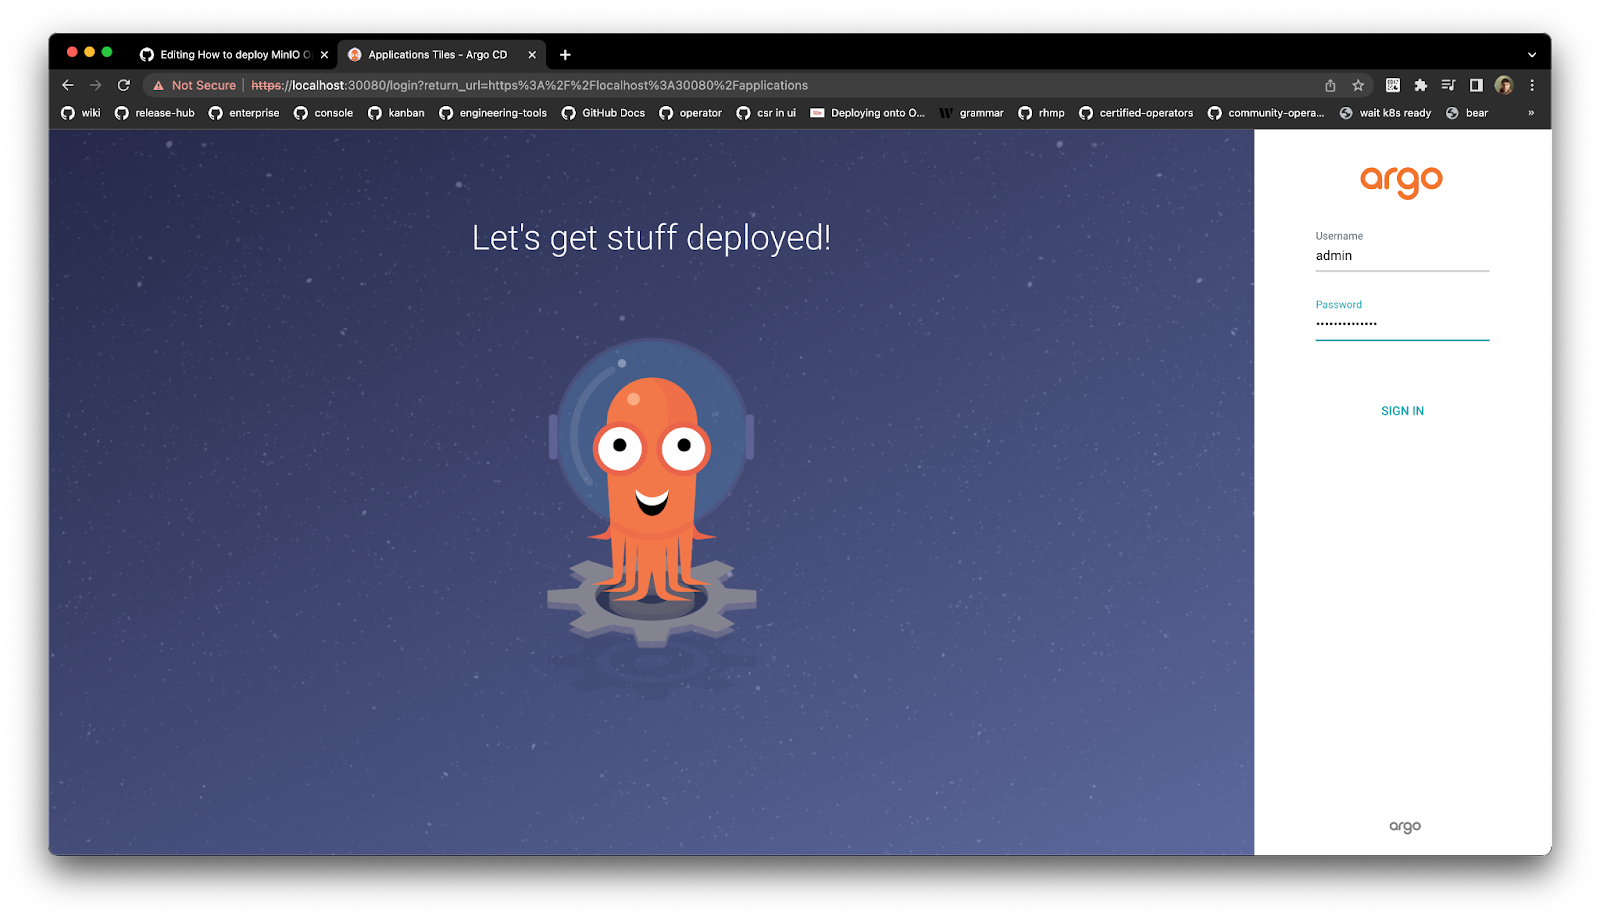
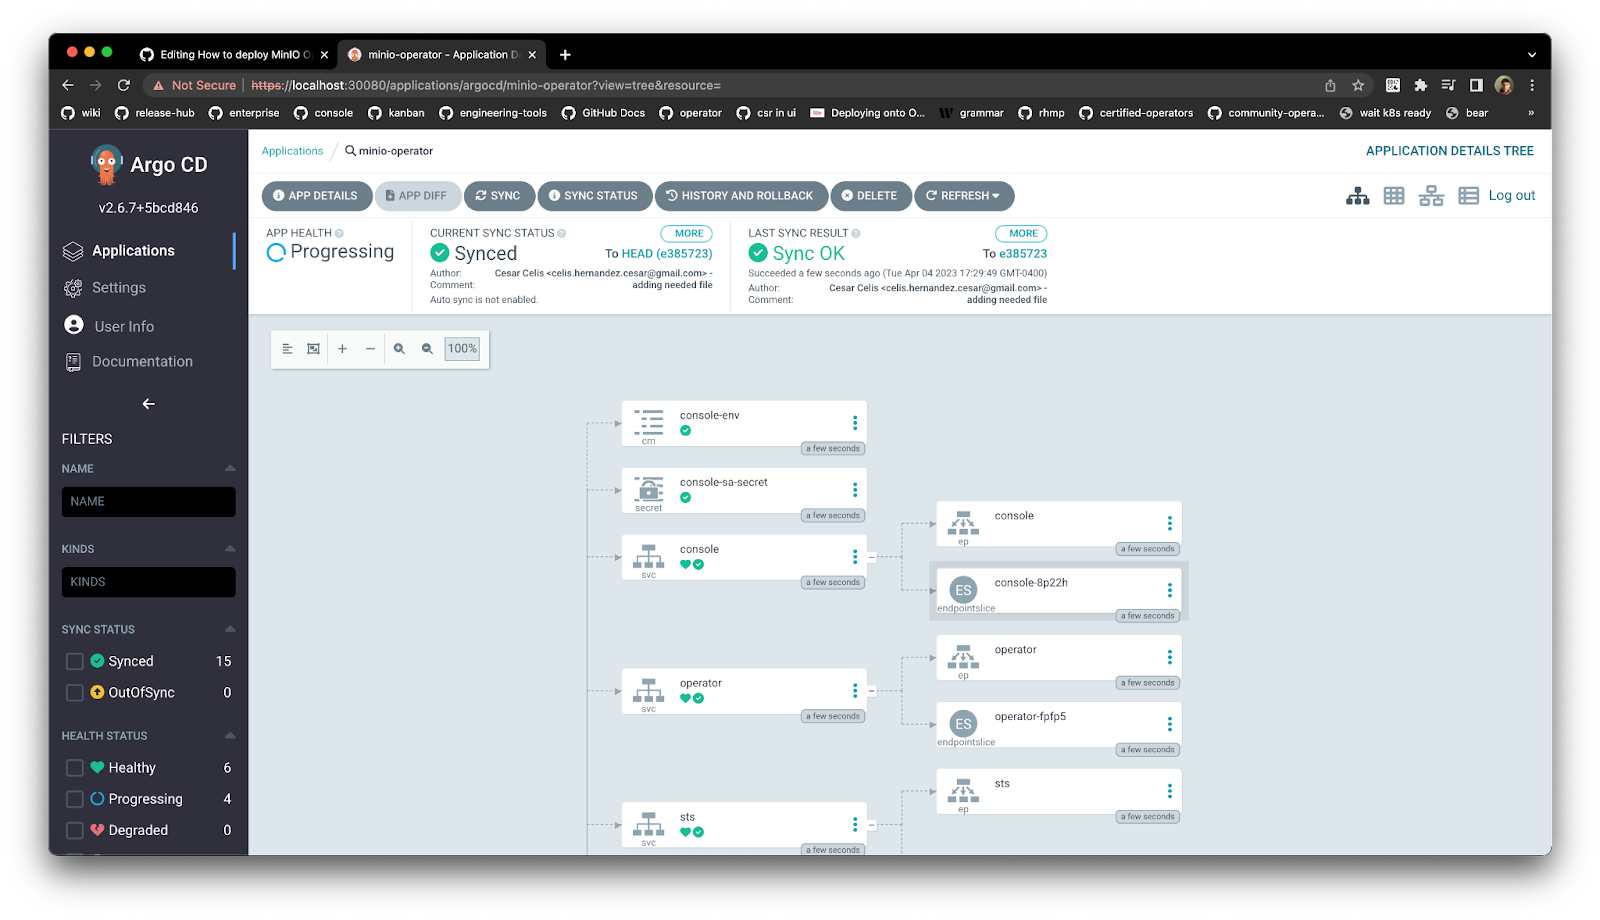
Ensure the ArgoCD MinIO app is synchronized so that it can get deployed
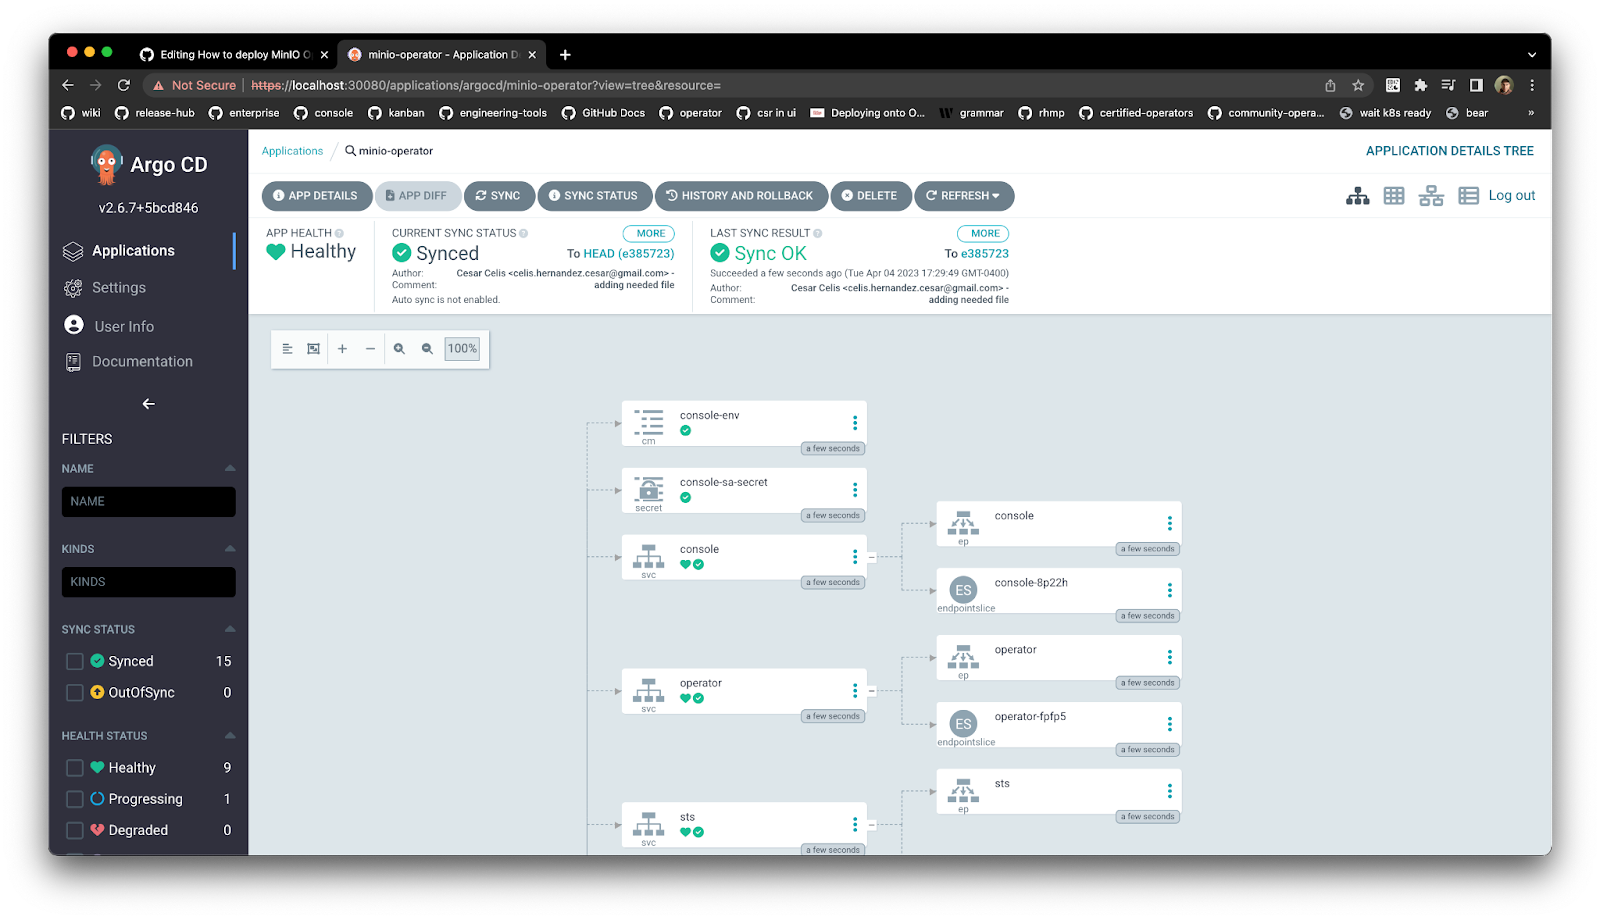
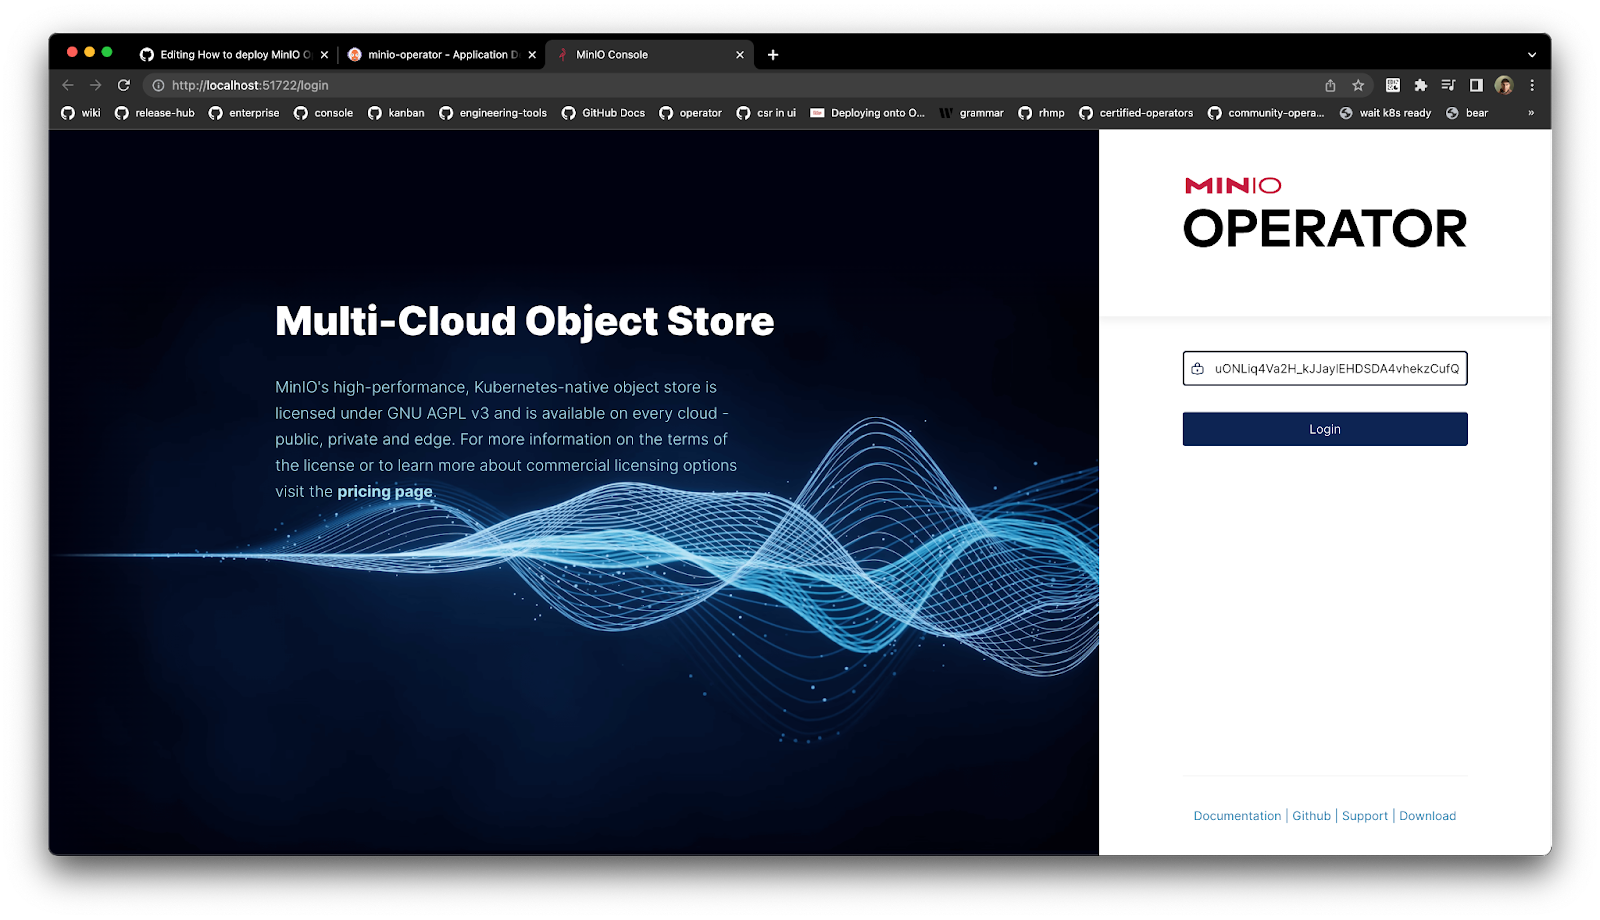
Expose the MinIO Operator console as a NodePort so it can be accessible, ensuring this port is opened in the Kind cluster configuration we used earlier. To log into the MinIO Operator console use the URL http://localhost:<port>/login
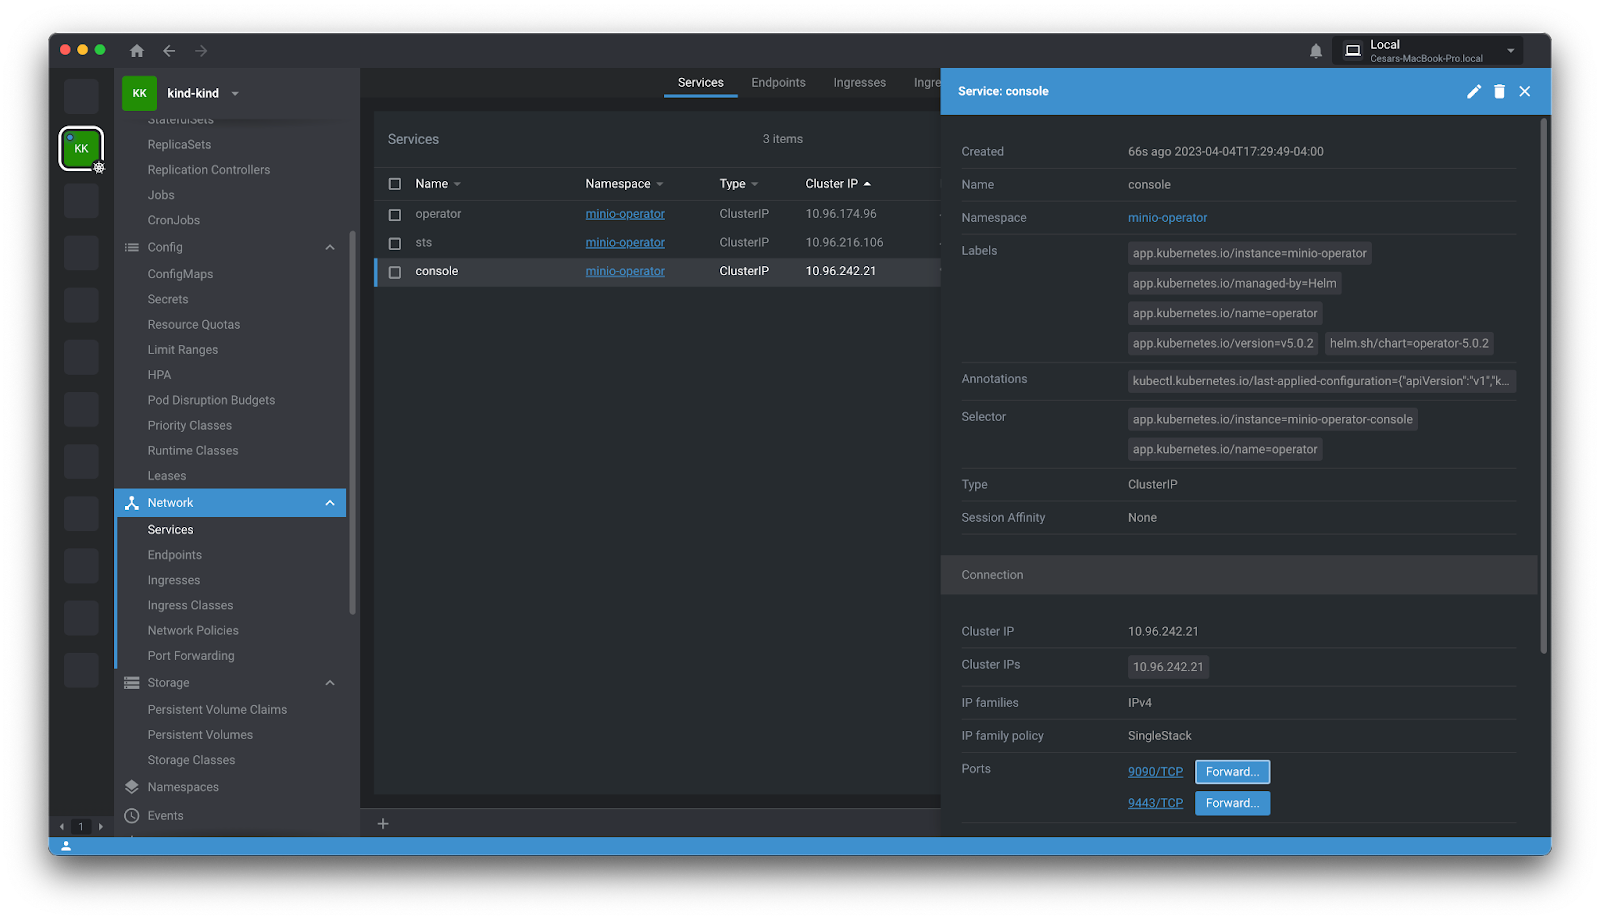
Deploy MinIO Tenant
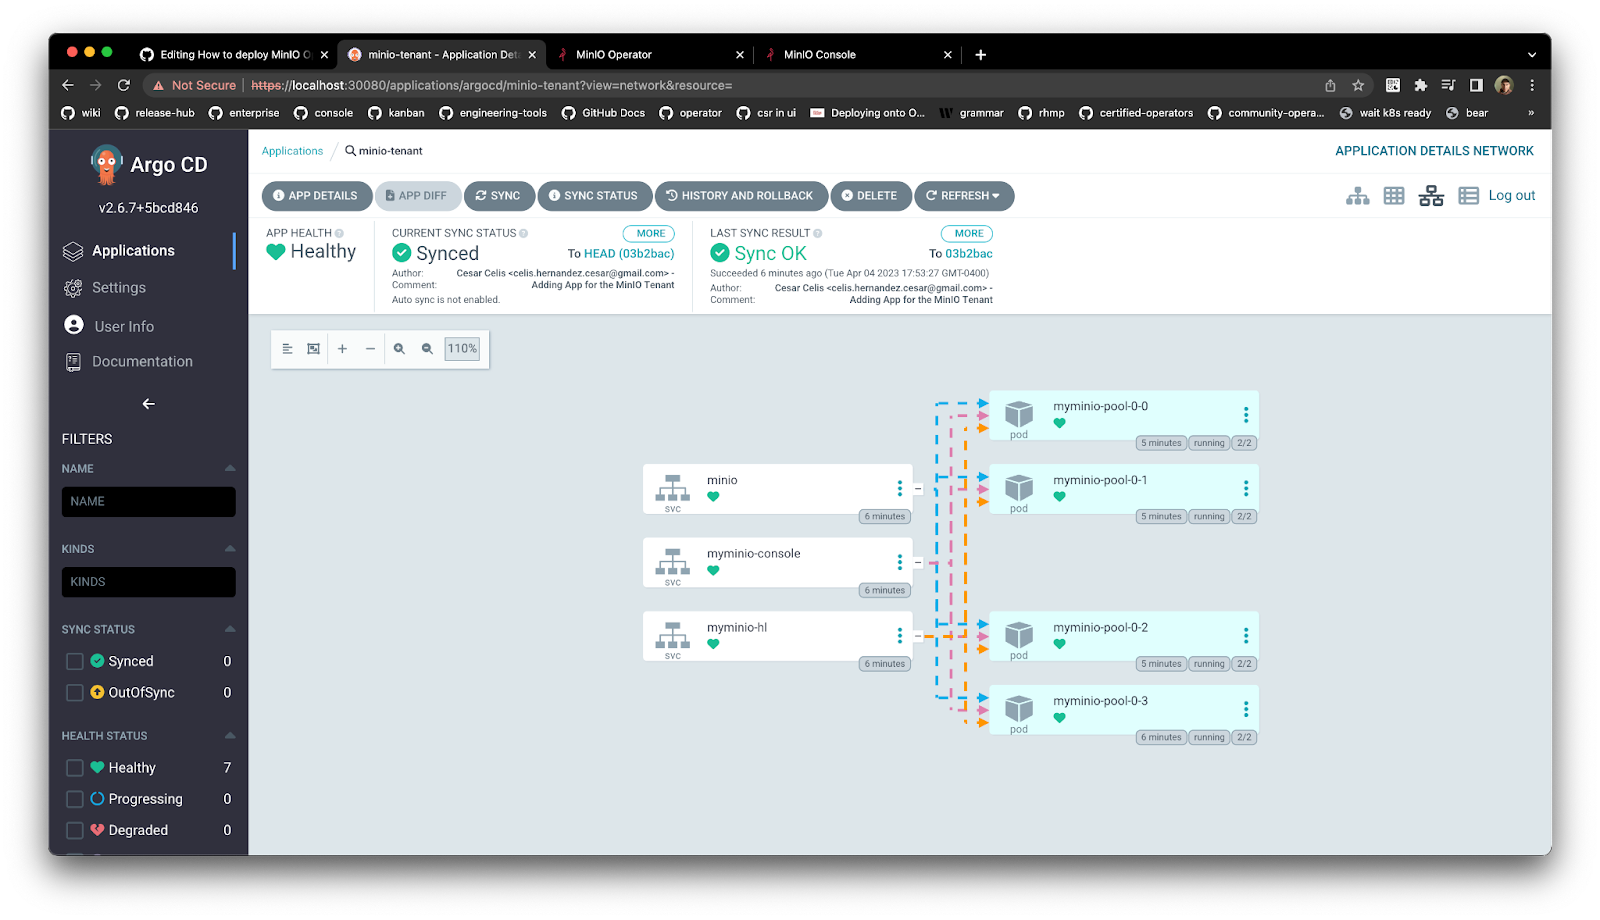
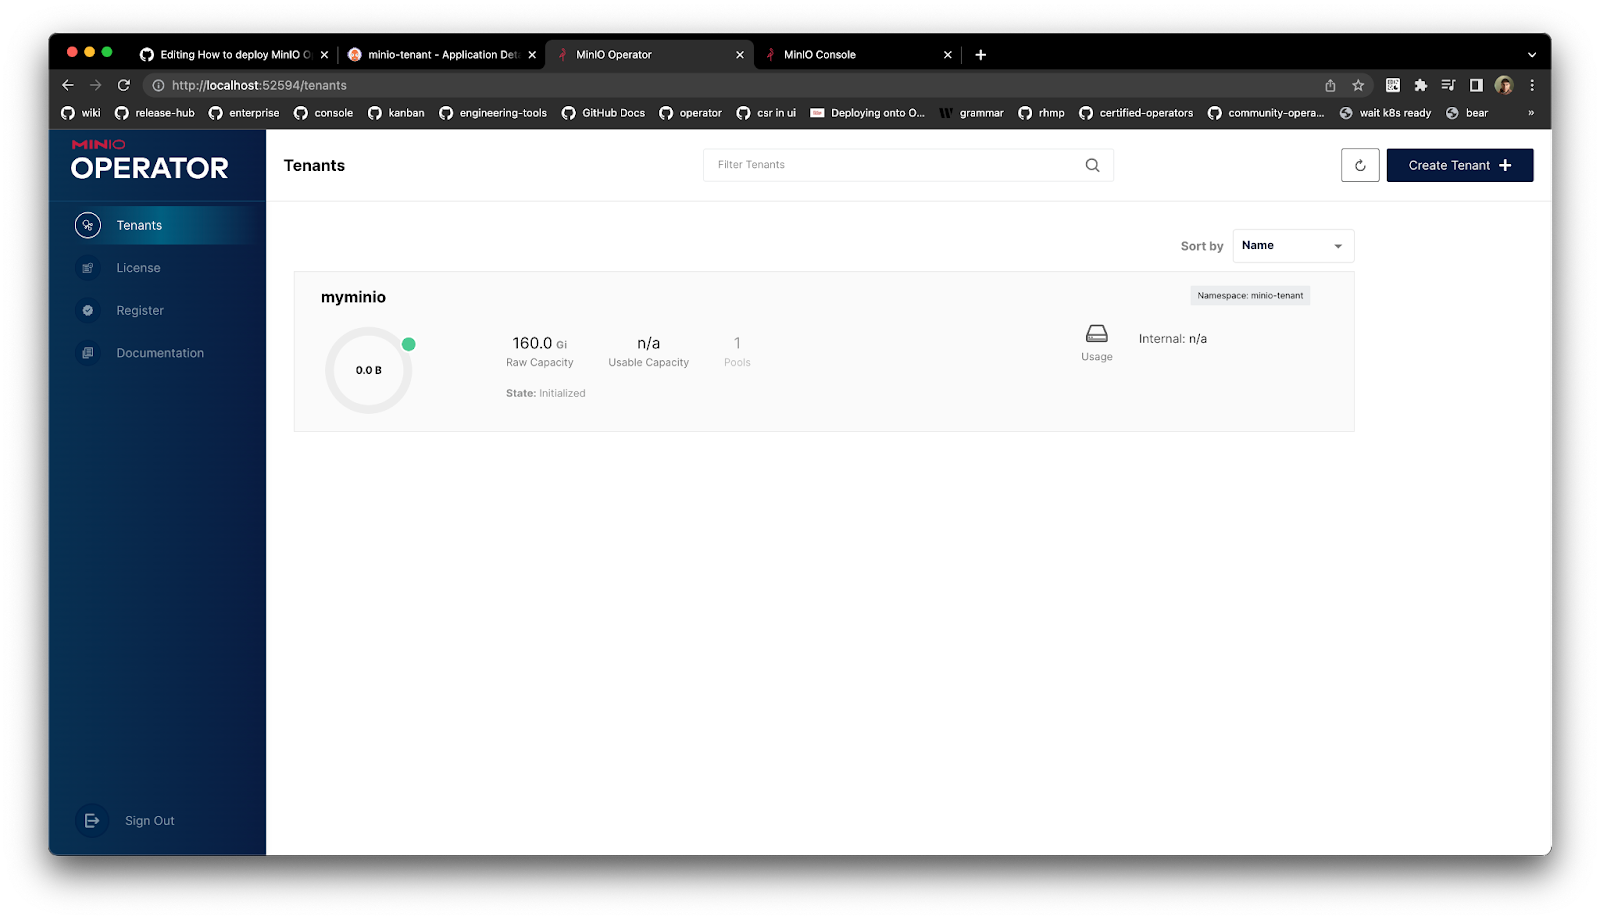
Not only can you deploy the MinIO Operator, but also a MinIO tenant via ArgoCD. Lets create a namespace and deploy the ArgoCD MinIO tenant app
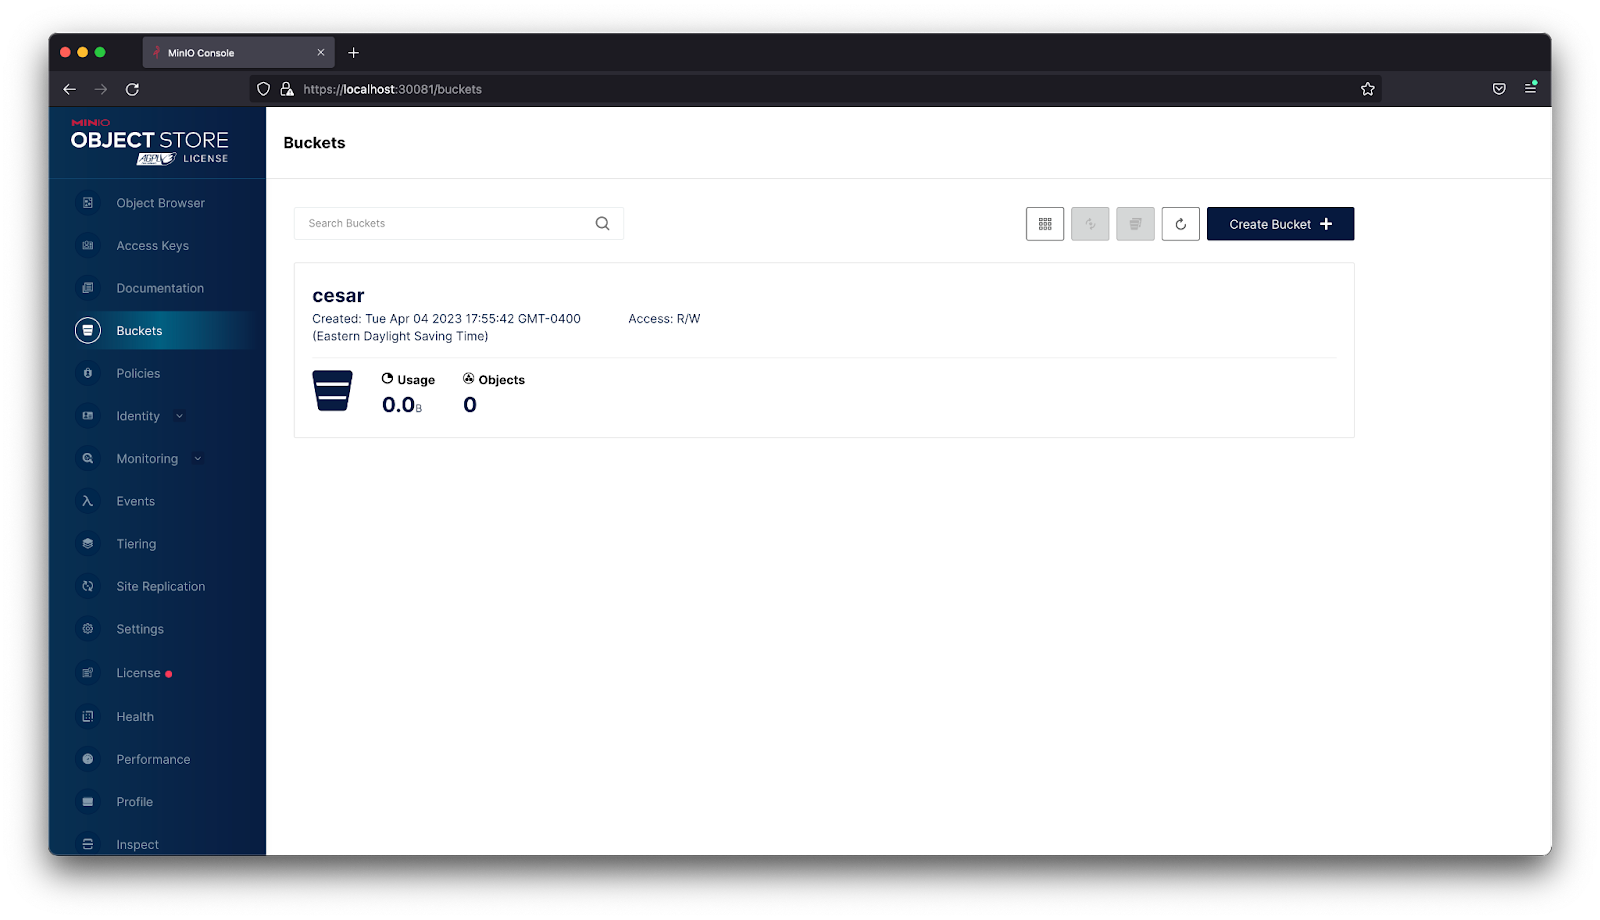
Lets sync the minio-tenant app and wait until it is deployed, then expose the console service and access it using the UI
A Single Pane of Glass View
Keeping in-line with our ethos of simplicity, we love ArgoCD because it allows you to version control and automate your MinIO Server upgrades and deployments in a Kubernetes environment. ArgoCD’s simple interface only requires a handful of steps to create a production-grade MinIO deployment.
This tutorial provided you with the building blocks to create a single cluster MinIO deployment. Next, you can take this setup and expand it to multiple Kubernetes clusters across different physical locations and share data between them using site-to-site replication. Ultimately this gives you a single pane of glass view across all your MinIO Kubernetes deployments and makes it easy to visualize the overall structure of the infrastructure. This is especially useful when onboarding new engineers so they can read the configuration to figure out the overall architecture. Once they’re up to speed, they can use it to modify and apply configurations, secure in the knowledge that they can revert changes if necessary.
As always we’re here to help! So reach out to us on SUBNET, Slack or email us at hello@min.io.


