Integrate MinIO with Keycloak OIDC

Integrate MinIO with Keycloak OIDC

Keycloak is a Single-Sign On solution. Using Keycloak users authenticate with Keycloak rather than MinIO. Without Keycloak you would have to create a separate identity for each user -  that would be cumbersome to manage in the long run. You would want a central identity solution to manage authentication and authorization for MinIO. In this blog post, we’ll show you how to set up MinIO to work with Keycloak. But broadly it should also give you an idea of how OIDC is configured with MinIO so you can use it with anything other than Keycloak, here we just use it as an example.

How to Set Up Keycloak

Here we are launching Keycloak as a docker container to get it quickly up and running for testing. But in production environments follow the Kubernetes deployment method to use with MinIO.

Let’s go ahead and install keycloak

cd ~


Git clone the keycloak containers repo

sudo rm -rf keycloak-containers

git clone git@github.com:keycloak/keycloak-containers.git

Launch keycloak instance

cd keycloak-containers/server

git checkout 12.0.4

docker build -t jboss/keycloak:12.0.4 .

docker run --rm -p 9080:8080 -e KEYCLOAK_USER=admin -e KEYCLOAK_PASSWORD=admin jboss/keycloak:12.0.4

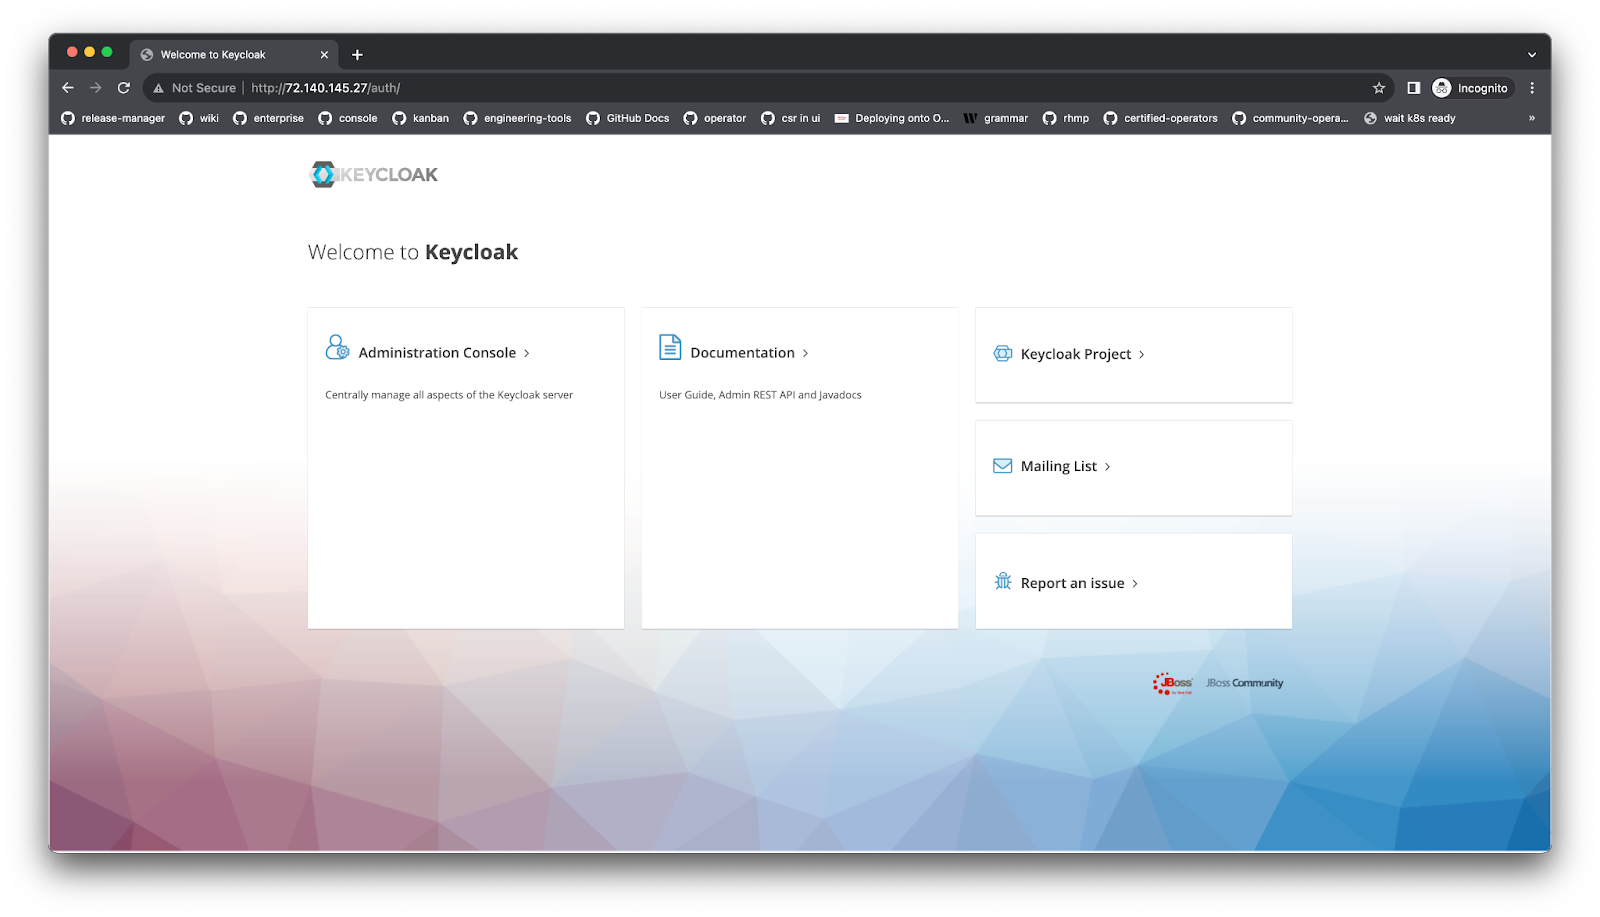
Once that is launched, access keycloak at http://localhost:9080 using the below credentials
user: admin

password: admin

Follow the steps below to configure Keycloak to work with MinIO. These would be followed in the Keycloak UI.

Step 1:

  • Create a Realm called "myrealm"

Step 2:

  • Clients

    • Click on account

    • Settings, set "Valid Redirect URIs" to "*"

    • expand "Advanced Settings" and set "Access Token Lifespan" to 1 Hours

    • Save


Step 3:

  • Clients

    • Click on `account`

    • Mappers Tab in the middle

    • Click `Create` button

      • "Name" with "anytext"

      • `Mapper Type` is `User Attribute`

      • `User Attribute` is `policy`

      • Token Claim Name is policy

      • Claim JSON Type is string

  • Click "Create" button

    • Name: Audience

    • Mapper Type: Audience

    • Included Client Audience: security-admin-console

  • Save the two mappers

  • Clients > account > Setting > "Service Accounts Enabled" = ON


Step 4:

  • Go to Roles

    • Add new Role `admin` with Description `${role_admin}`

    • "Composite Roles" as "ON"

  • "Available Roles" move them to "Associated Roles"

    • Do the same for all "Client Roles" from left to right.

Step 5:

  • Roles

    • Default Roles

      • "Available Roles" move all to "Real Default Roles"

      • Same for all "Client Roles" all from left to right

Step 6:

  • Clients

    • account

      • "Service Account Roles" tab.

        • "Available Roles" move to "Assigned Roles"

        • Same for all "Client Roles"

Step 7:

  • Users

    • Create "minio" user

    • Attribute "policy" value "readwrite"


  • Put `minio123` password

  • "Role Mappings" Tab

    • "Available Roles" all from left to right

    • Same for all "Client Roles"

  • Add and Save

Step 8:

Copy the following to MinIO ENV var MINIO_IDENTITY_OPENID_CLIENT_SECRET

  • Clients

    • account

      • Credentials

        • Secret

          • 81f55c5f-137f-4d83-82c5-c7fdc73cad5e

Like so

MINIO_IDENTITY_OPENID_CLIENT_SECRET="81f55c5f-137f-4d83-82c5-c7fdc73cad5e"

Next let's configure this with MinIO

Configuring with MinIO

We’ll show you a couple of different ways to configure this with MinIO. First with a bare metal install and second with Kubernetes.

If you are launching it in bare metal or docker, you can `export` the following env vars

export MINIO_IDENTITY_OPENID_SCOPES="openid,profile,email"

export MINIO_BROWSER_REDIRECT_URL=http://localhost:9001

export MINIO_SERVER_URL=http://localhost:9000

export MINIO_IDENTITY_OPENID_CLIENT_ID="account"

export MINIO_IDENTITY_OPENID_CLIENT_SECRET="81f55c5f-137f-4d83-82c5-c7fdc73cad5e"

export MINIO_IDENTITY_OPENID_CONFIG_URL=http://localhost:9080/auth/realms/myrealm/.well-known/openid-configuration

export MINIO_ROOT_USER=minio

export MINIO_ROOT_PASSWORD=minio123


minio server /Volumes/data{1...4} --address :9000 --console-address :9001

Then login with SSO at http://localhost:9001/login
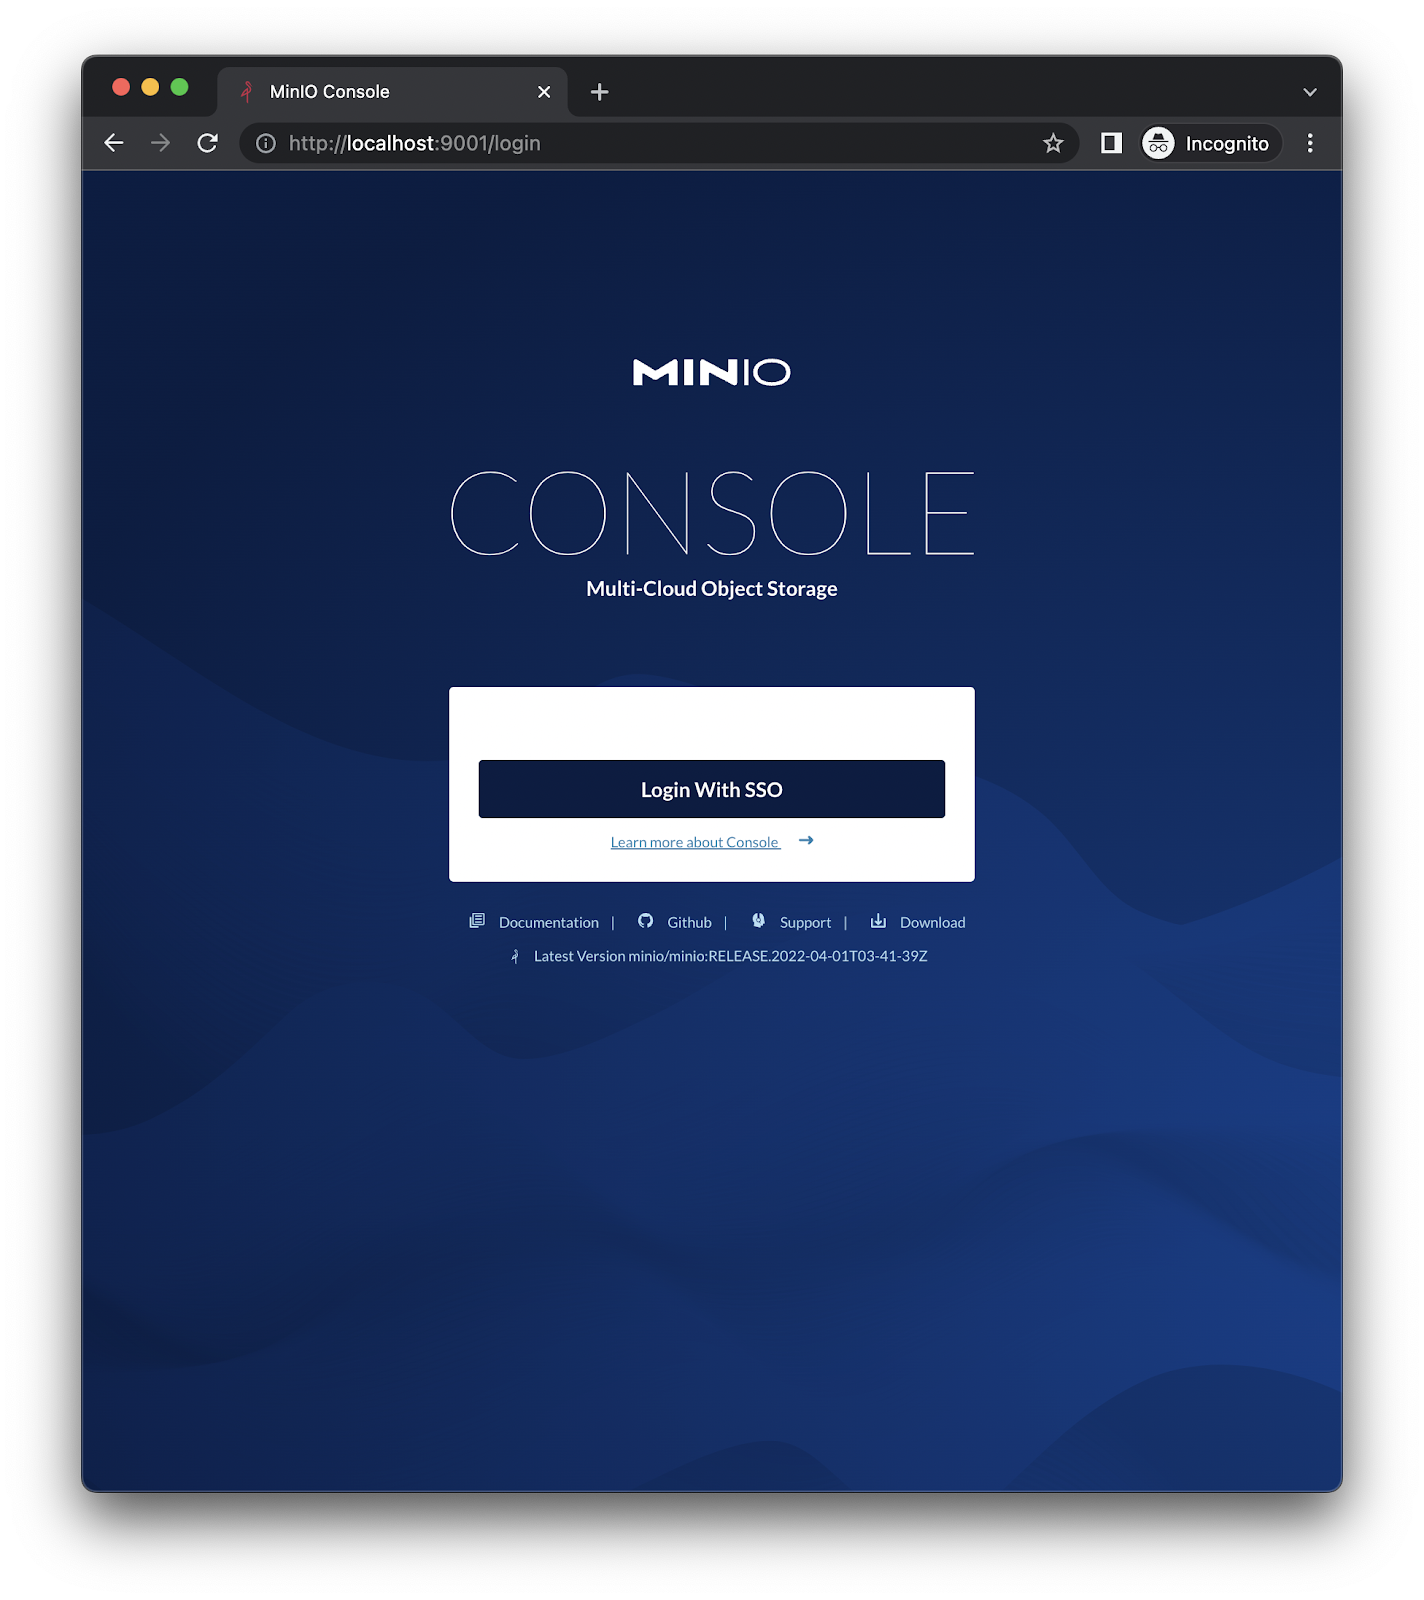
Screen Shot 2022-04-04 at 3 30 42 PM

If you are using Tenant Operator, its somewhat a similar process. Set the following env vars in tenant spec

  env:

  - name: MINIO_IDENTITY_OPENID_CLIENT_SECRET

value: 6aabe0ea-8d5f-412c-99f8-63b999ccd281

  - name: MINIO_IDENTITY_OPENID_SCOPES

value: openid,profile,email

  - name: MINIO_BROWSER_REDIRECT_URL

value: "https://72.140.145.27"

  - name: MINIO_SERVER_URL

value: "https://minio.tenant-lite.svc.cluster.local:443"

  - name: MINIO_IDENTITY_OPENID_CLIENT_ID

value: account

  - name: MINIO_IDENTITY_OPENID_CONFIG_URL

value: "http://72.140.145.27/auth/realms/myrealm/.well-known/openid-configuration"

  • Note 1: MINIO_BROWSER_REDIRECT_URL is the console UI. It must be exposed publicly from the node port into the cluster to port forward to the public IP.
  • Note 2: MINIO_IDENTITY_OPENID_CONFIG_URL is our keycloak exposed publicly, this also needs to be port forwarded and a public IP address set. The expectation is that SSO is configured the same way with a public way to connect to similar software, and can be auth0 as well.

Access tenant using SSO
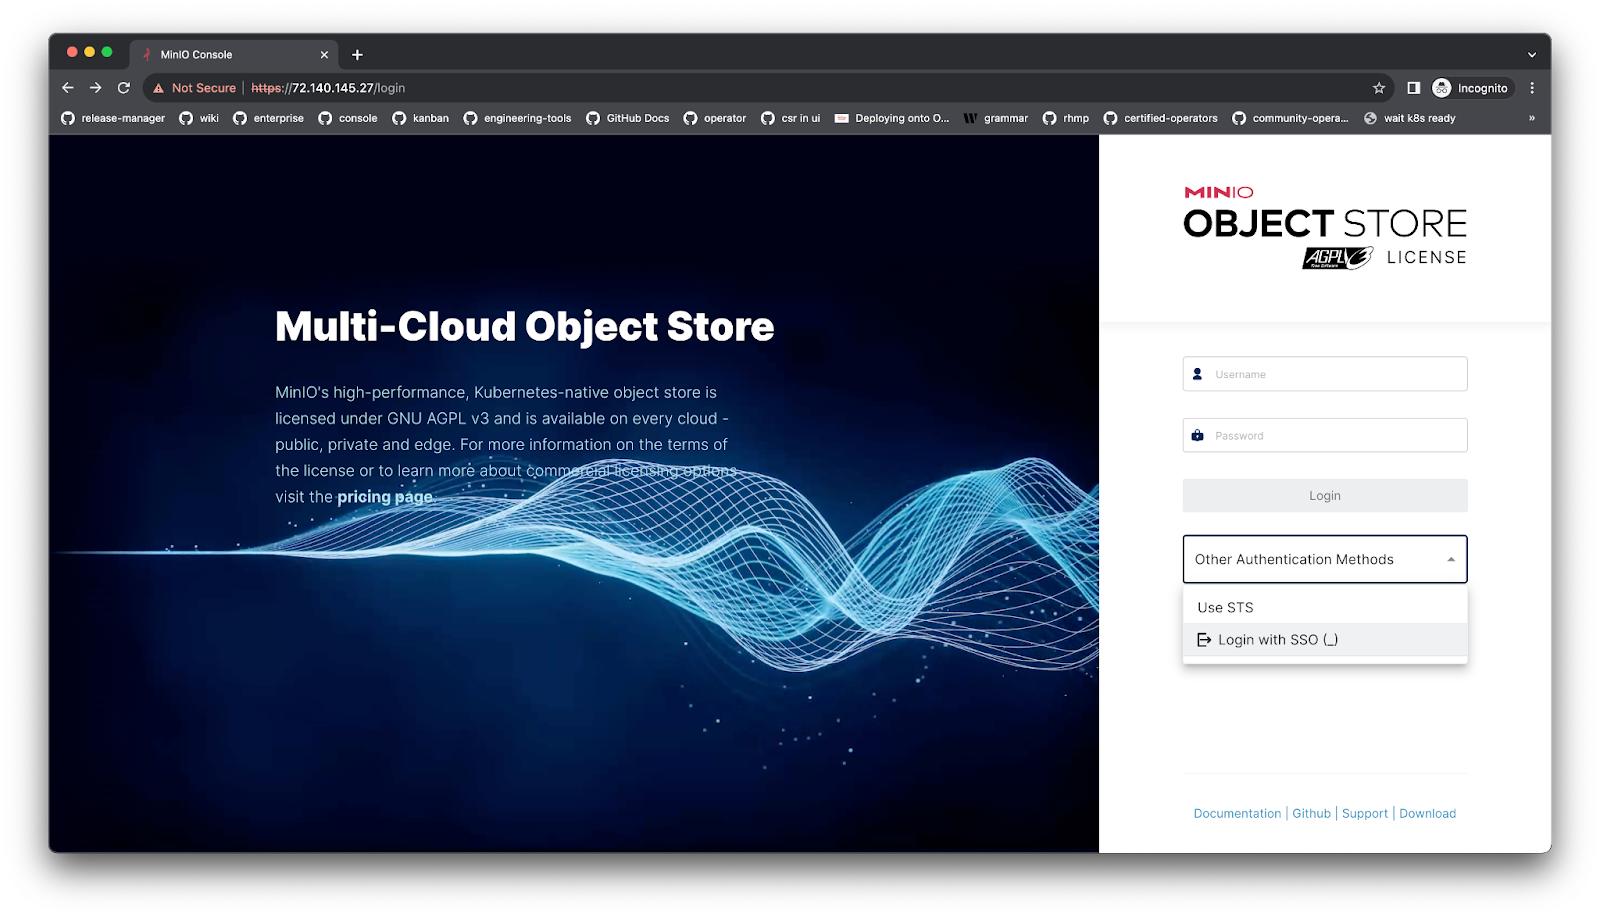
The rest of the process is the same whether its bare metal, docker or Kubernetes. Provide your MinIO login credentials.
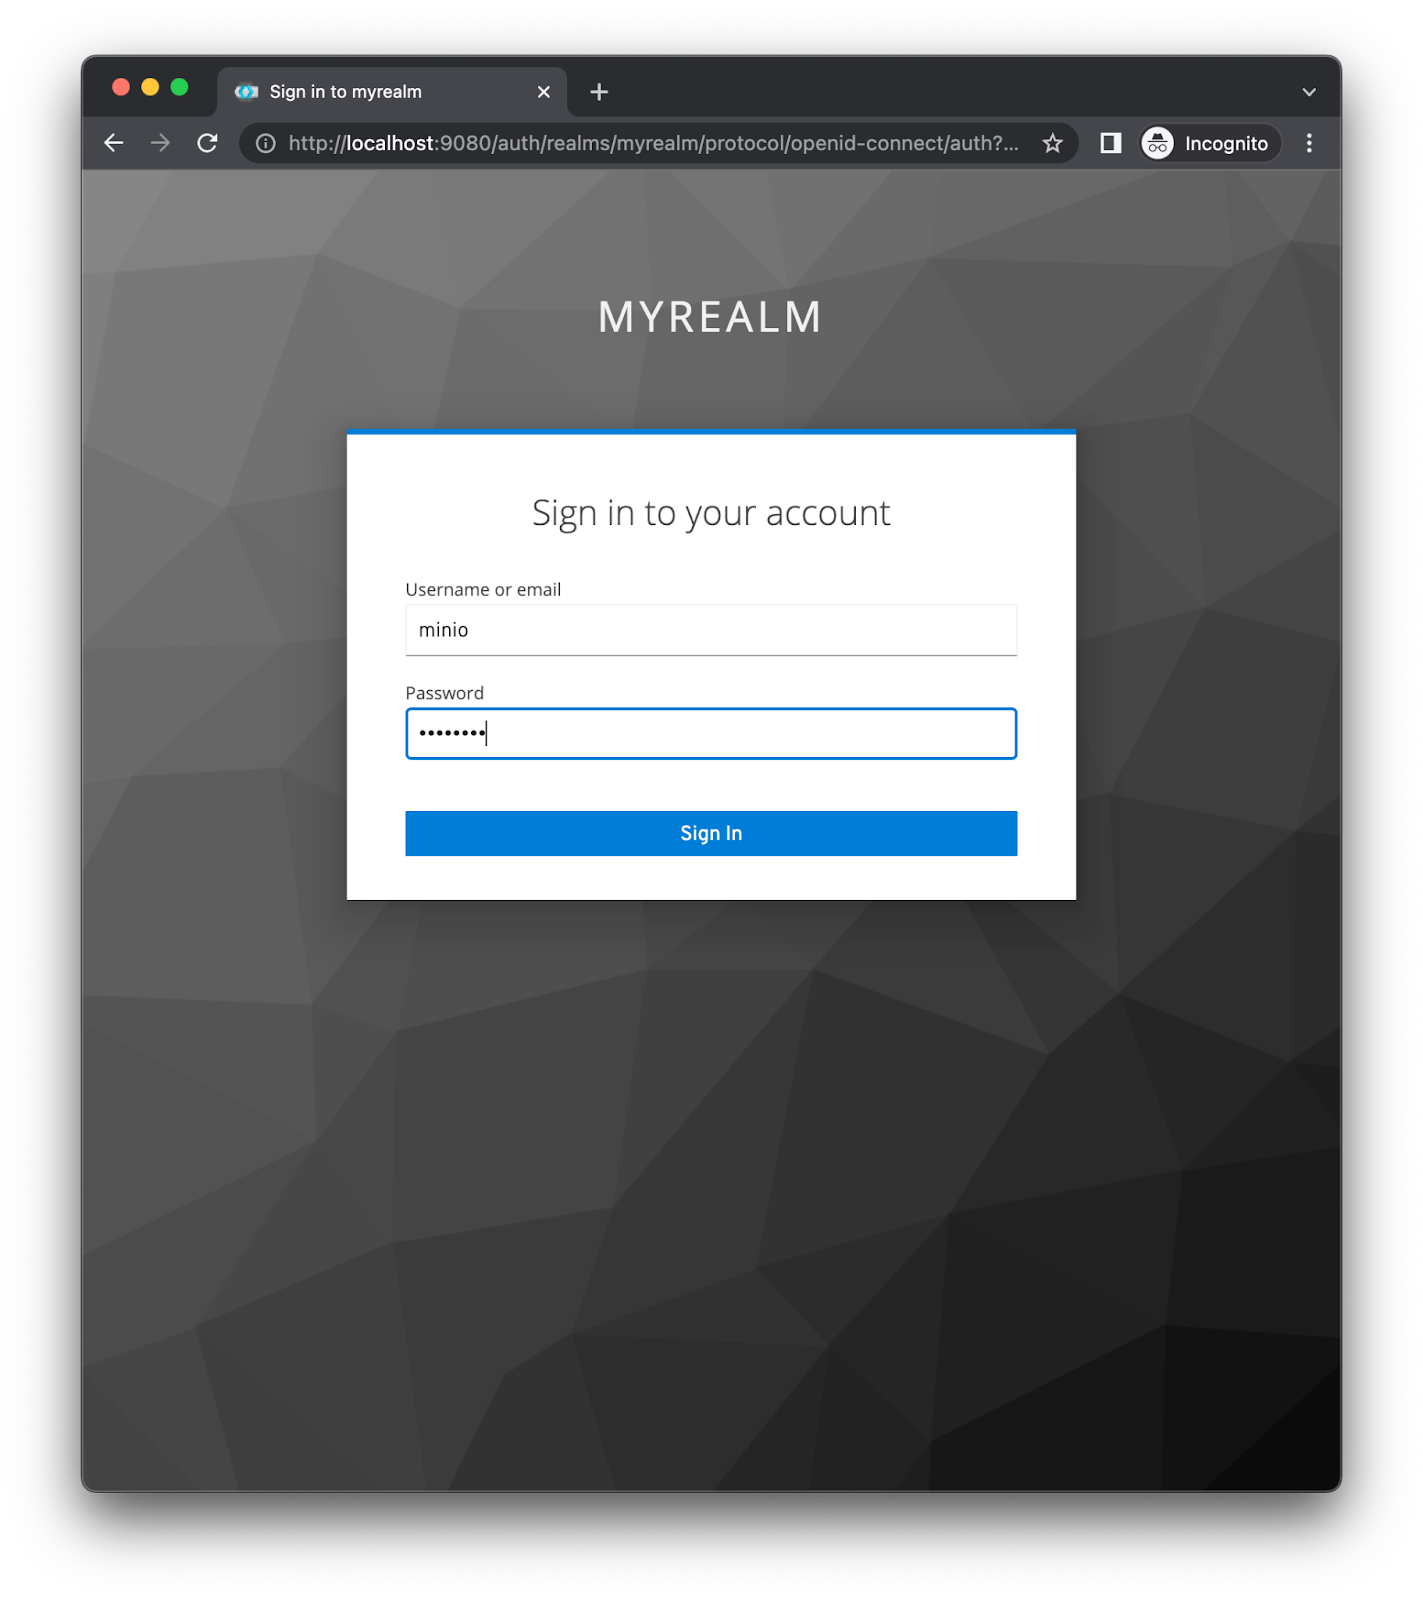
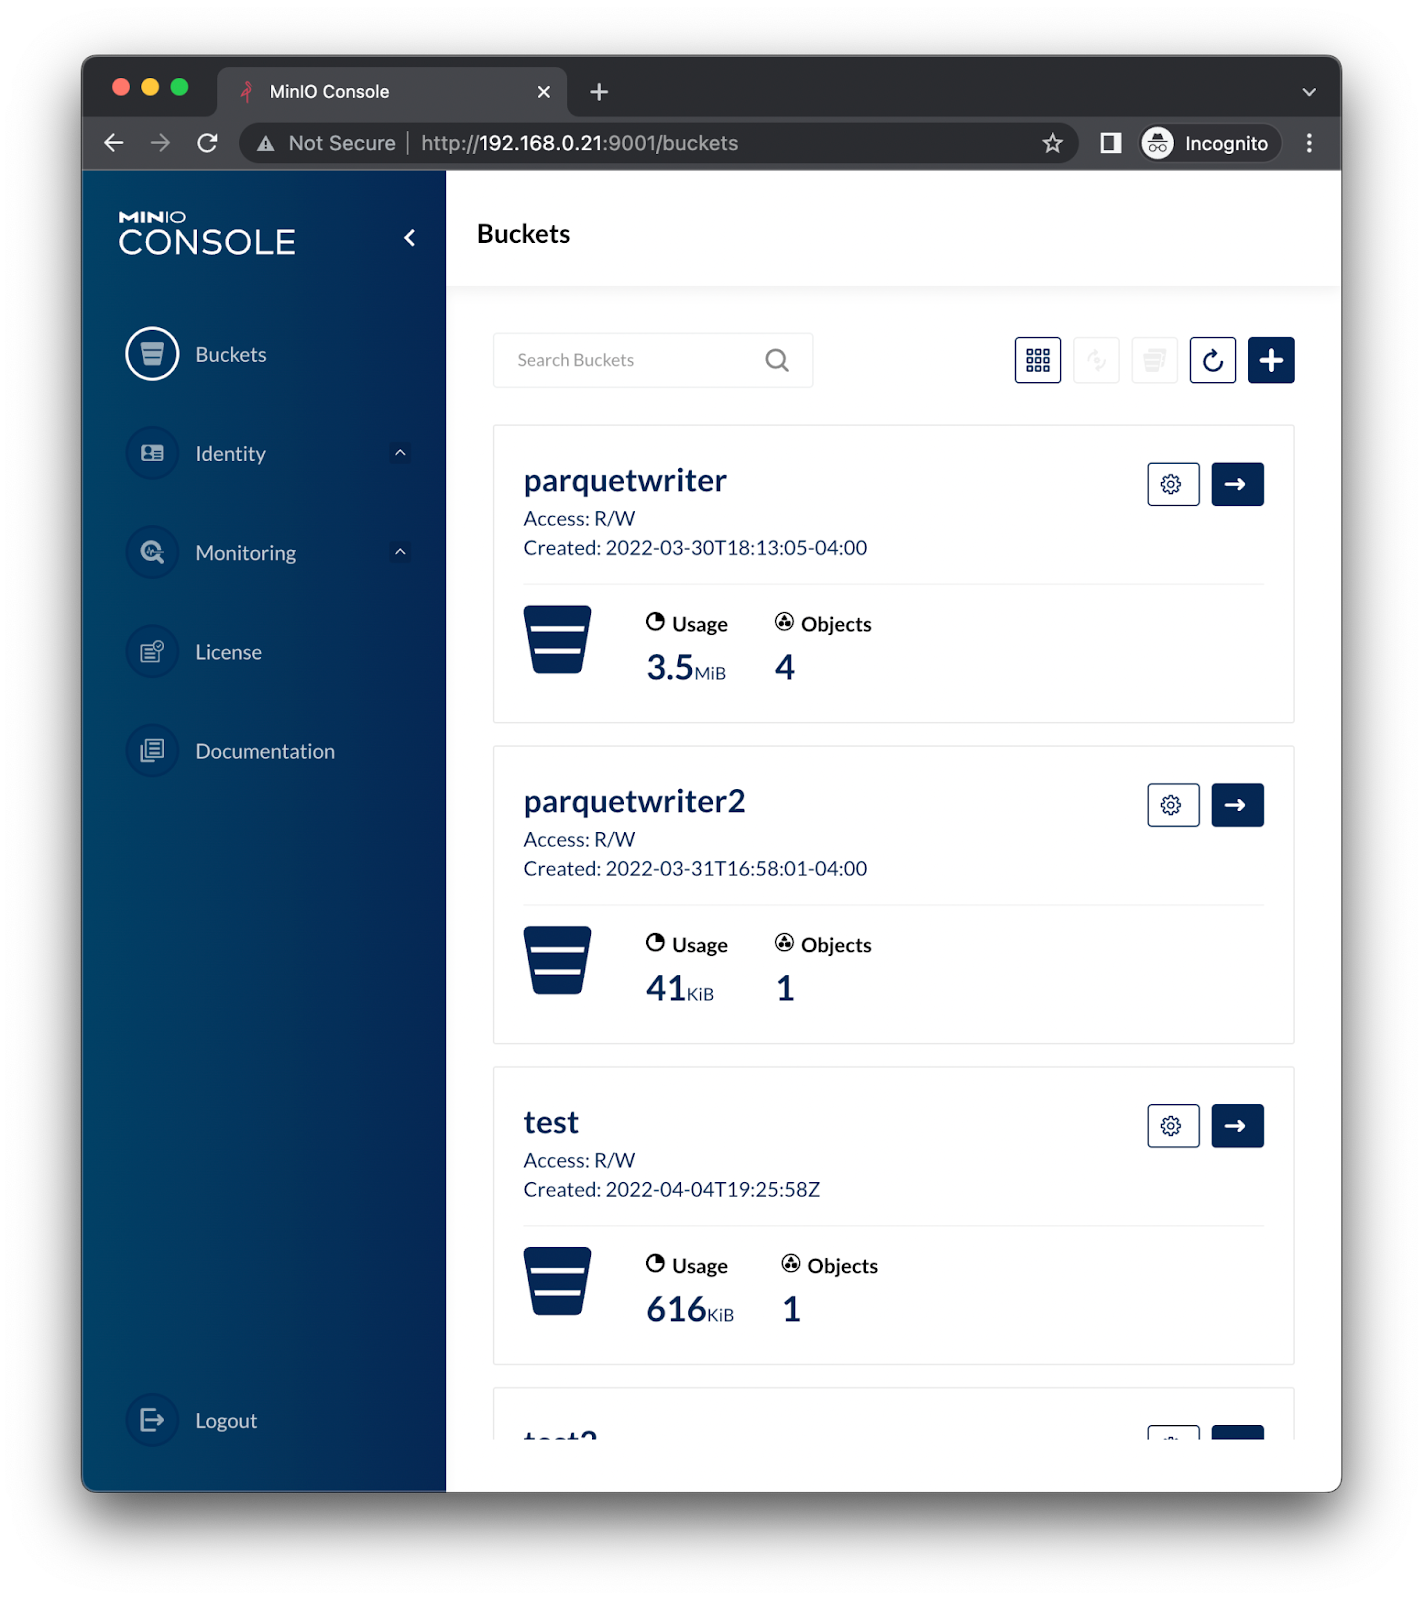
As expected you should see a UI like below
It's as simple as that.

Final Thoughts

As you can see, there is not much to do to get OIDC tools such as Keycloak to be integrated with MinIO. You just need to configure the OIDC tool to accept authentication requests from MinIO and set up MinIO to redirect to your OIDC tool. You can now use this real working example to configure your own OIDC.

If you have any questions regarding MinIO’s OICD integration or any SSO questions in general, be sure to reach out to us on Slack!