Simplifying Multi-Cloud Kubernetes with MinIO and Rafay

Enterprises are deploying multi-cloud services on a scale we’ve never seen before. Kubernetes is a key enabler of multi-cloud success because it establishes a common, declarative software-based platform that provides a consistent API-driven experience regardless of underlying hardware and software. However, it can be time consuming and error prone to manage a multitude of Kubernetes clusters and their applications and data across the multi-cloud.
It’s no secret that managing Kubernetes manually requires considerable skill to scale effectively. Challenges grow as you scale because you’re supporting more and bigger Kubernetes clusters. At some point, Kubernetes’ complexity may even threaten your ability to adapt legacy software to the cloud-native age. Adding external storage to the mix compounds those challenges, especially when you have to deal with variations in hardware and inconsistent APIs. If you are not architected for the multi-cloud, you run the risk of failing in the multi-cloud.
We’ve joined forces with Rafay to develop this tutorial to show you how to make the most of multi-cloud Kubernetes using Rafay to deploy, update and manage Kubernetes and applications using MinIO for object storage. Rafay is a SaaS-based Kubernetes operations solution that standardizes, configures, monitors, automates and manages a set of Kubernetes clusters through a single interface. MinIO is the fastest software-defined, Kubernetes native, object store. It includes replication, integrations, automations and runs anywhere Kubernetes does – public/private cloud, edge, developer laptops and more.
MinIO brings S3 API functionality and object storage to Kubernetes, providing a consistent interface anywhere you run Kubernetes. DevOps and platform teams use the MinIO Operator and kubectl plugin to deploy and manage object storage across the multi-cloud. Cloud-native MinIO integrates with external identity management, encryption key management, load balancing, certificate management and monitoring and alerting applications and services – it simply works with whatever you're already using in your organization. MinIO is frequently used to build data lakes/lakehouses, at the edge and to deliver Object Storage as a Service in the datacenter.
MinIO and Rafay are both known for their combination of power and simplicity. Follow the tutorial below to begin exploring how they can standardize and automate operations for your Kubernetes clusters and manage its applications and data.
Rafay Install
We need a Kubernetes cluster to get started on our endeavor. Regular EKS or GKE clusters would work but on-prem bare metal Kubernetes clusters would work as well. Our ethos has always been simplicity where anyone can get started with just their laptop and grow production systems from there. We’ll use our laptops for this tutorial in order to demonstrate the simplicity of Rafay and MinIO.
Download MicroK8s
Let’s start with by installing MicroK8s using brew
Install MicroK8s
Add a shortcut alias in bash so you do not have to repeat the entire command everytime
Check to see the alias is working
Great, if that is working, lets move on to enabling some essential addons required for the operations of our cluster.
Enable DNS, StorageClass and RBAC
In order for the pods in the MicroK8s cluster to talk internally and to route external DNS requests, let's enable DNS, which is essentially managed by CoreDNS. In order to have a persistent volume for our MinIO installation, we’ll enable Microk8s hostpath storage. Last but not least, we also need RBAC to securely enable access to Calico for routing and other internal user based kubectl access configured using Rafay console.
Enable DNS, hostpath storage and RBAC MicroK8s add-ons.
Verify DNS is enabled
MinIO Cluster
There are a couple of ways to get our MinIO Kubernetes cluster connected to Rafay. We can either go to the Rafay console and launch the cluster on AWS, GCP, Azure and even bare metal to import an already running existing Kubernetes into the Rafay console. In this case, we already have a running MicroK8s Kubernetes cluster, so we’ll go ahead and import that.
Follow steps 1 and 2 on this page to import the MicroK8s cluster we set up locally. Once you are on step 3, you’ll get a bootstrap yaml file which you need to apply to the Microk8s cluster.
Bootstrap Cluster
Install Rafay operator and bootstrap the cluster
Once you apply the bootstrap file, it will take about 5 minutes for all the pods to come up
In the reachability check you should see SUCCESS and the control plane should look HEALTHY.

Deploy MinIO
There are several ways to deploy MinIO: Using the go binary and systemctl file, in Kubernetes as an operator, and also using a Helm chart. We’ll use a Helm chart in this example to show the workflow in the Rafay console to import a helm chart.
In order to get started, add the MinIO Helm chart repository
Download the MinIO tar.gz helm chart package, which will later be used to upload to Rafay console.
% helm fetch minio/minio
Create the following minio-custom-values.yaml file to upload later in Rafay console
Create the MinIO Namespace using the Rafay interface
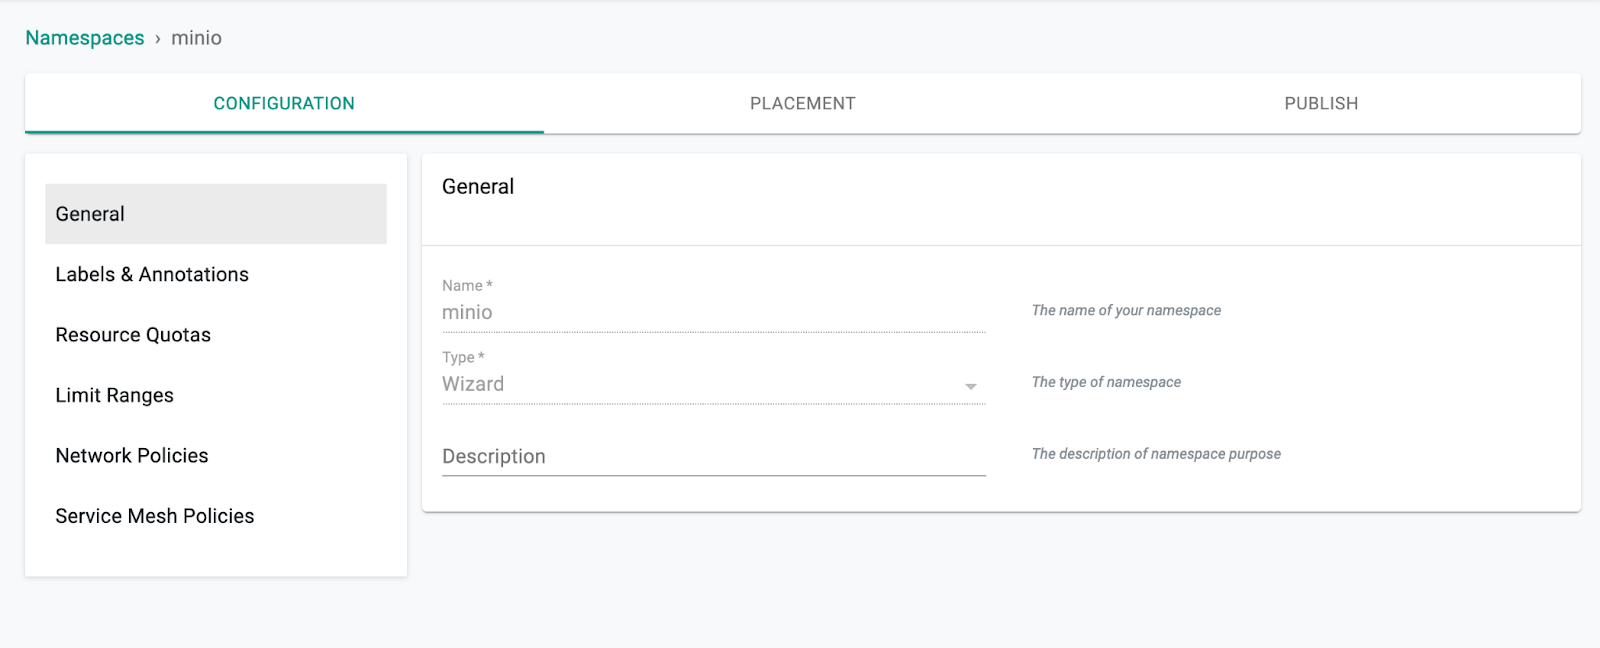
Verify it’s been created in your cluster
We have all the prerequisites now: Helm Chart tar.gz, Helm Values yaml file and Namespce to deploy on the cluster. Next, create a new workload, name it “minio” with package type “Helm 3”. This is helpful because it tells the Rafay console to use the Helm prerequisite files we created earlier. Select “Upload files manually” to upload the helm chart tar.gz and the helm values yaml file.
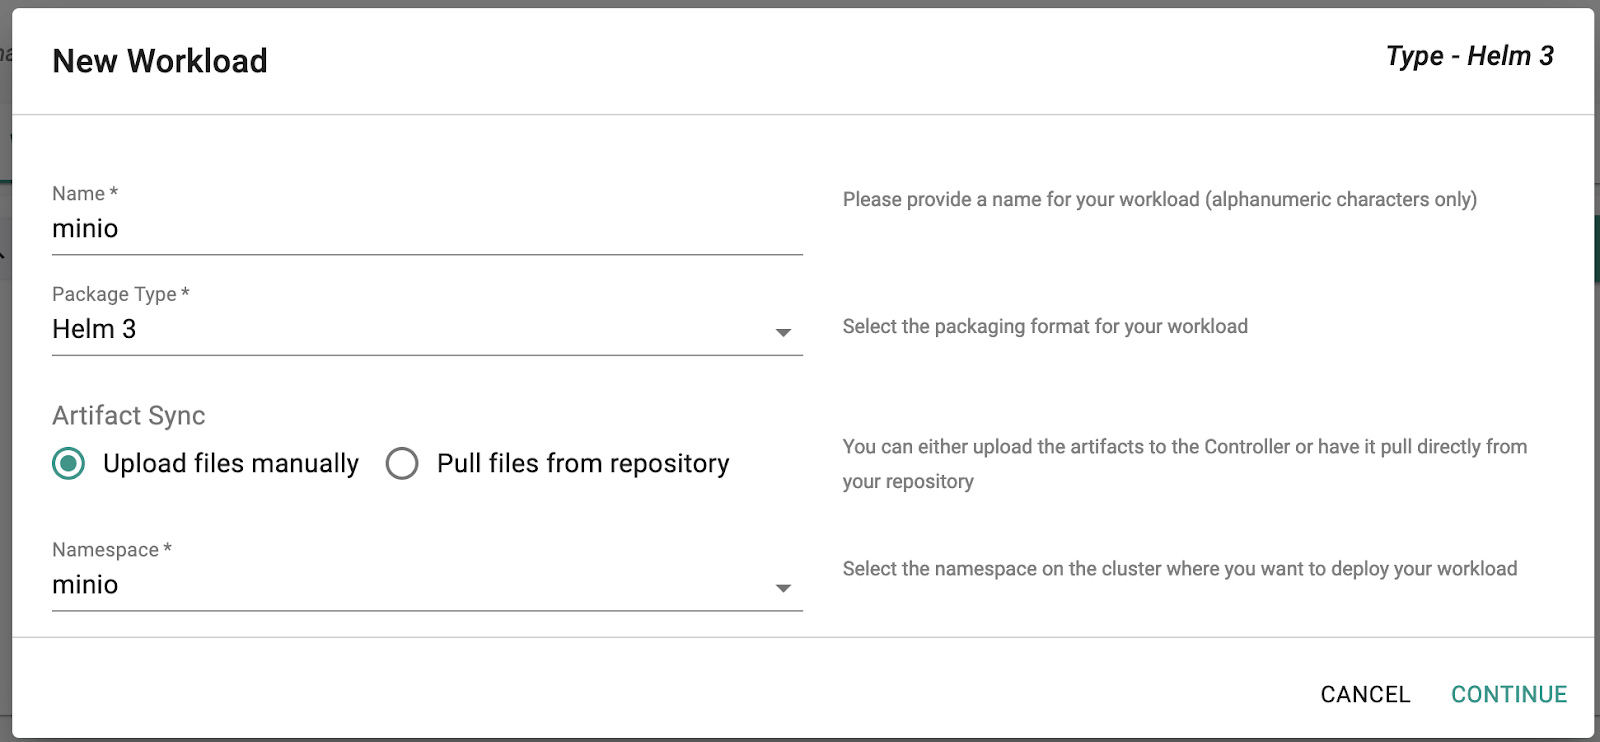
Select the MinIO package and values yaml file and Publish the workload
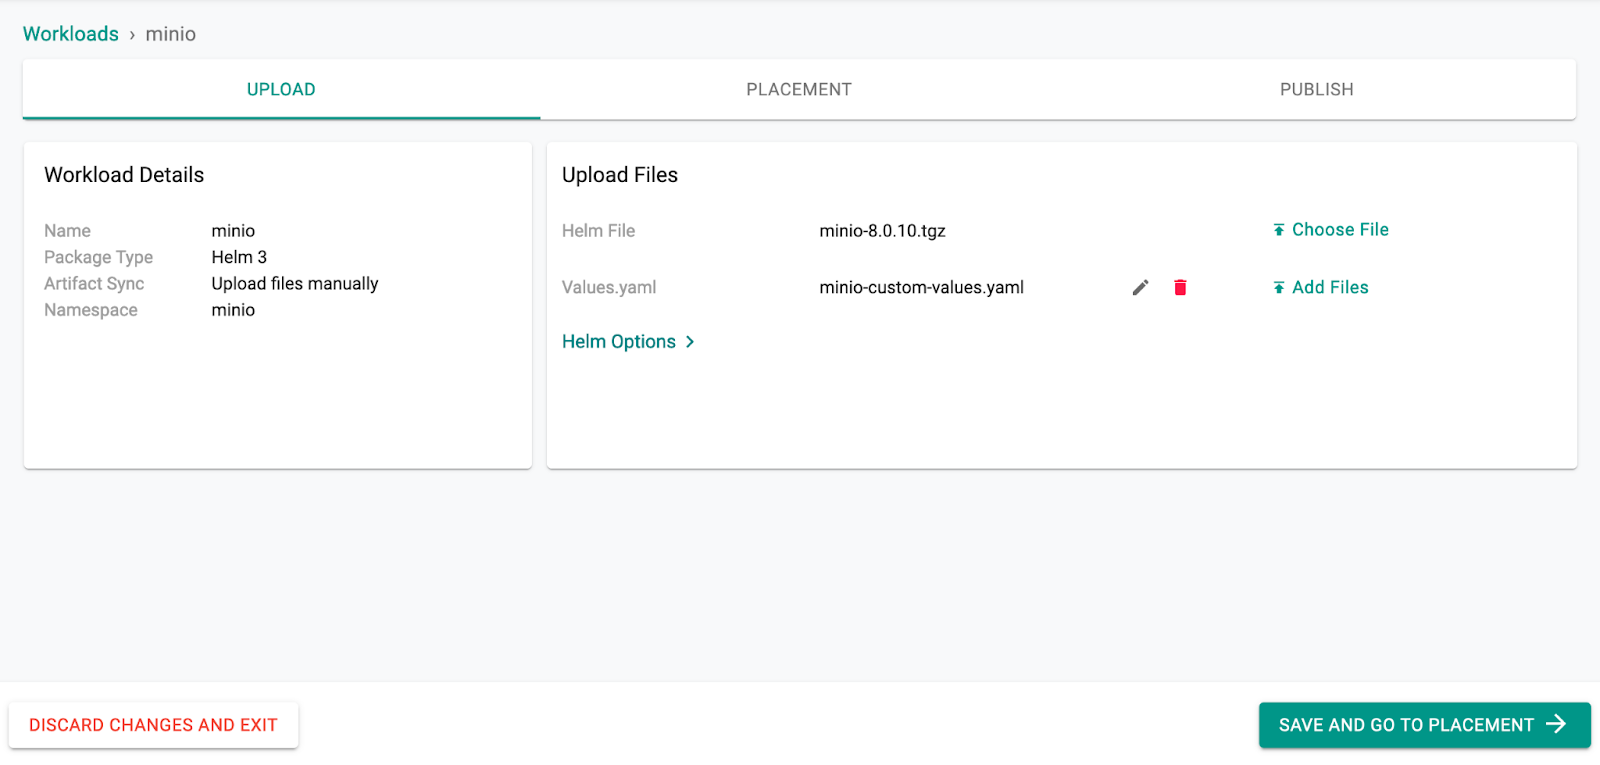
Give it a few minutes and then verify the workload is ready

Click on Debug -> Pods to see the MinIO pod running
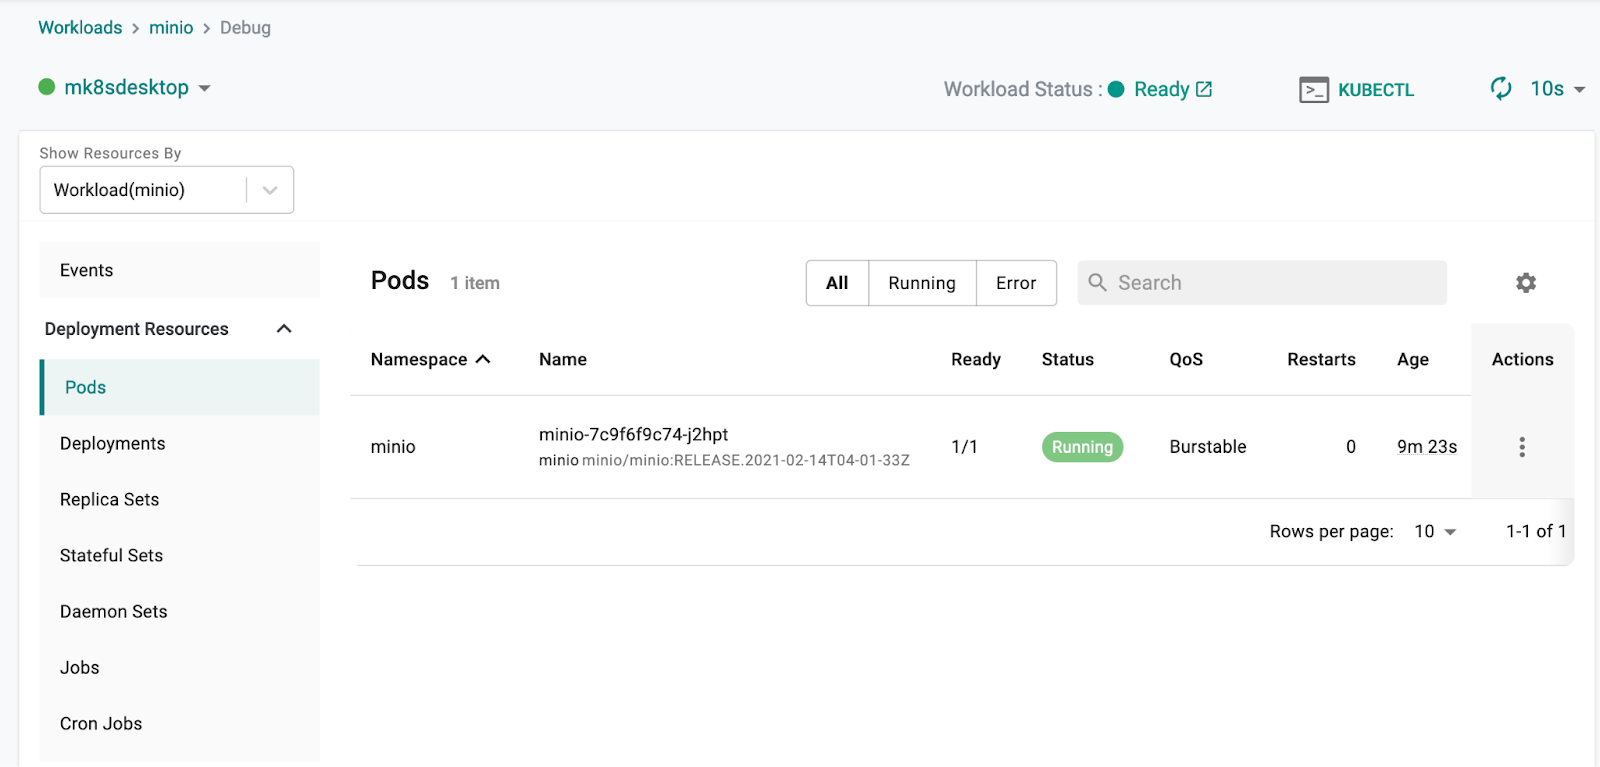
MinIO Console
Next, expose the MinIO Console, a browser-based GUI for managing a MinIO Tenant, using Kubernetes port forwarding.
Open a port-forward and go to http://localhost:9000
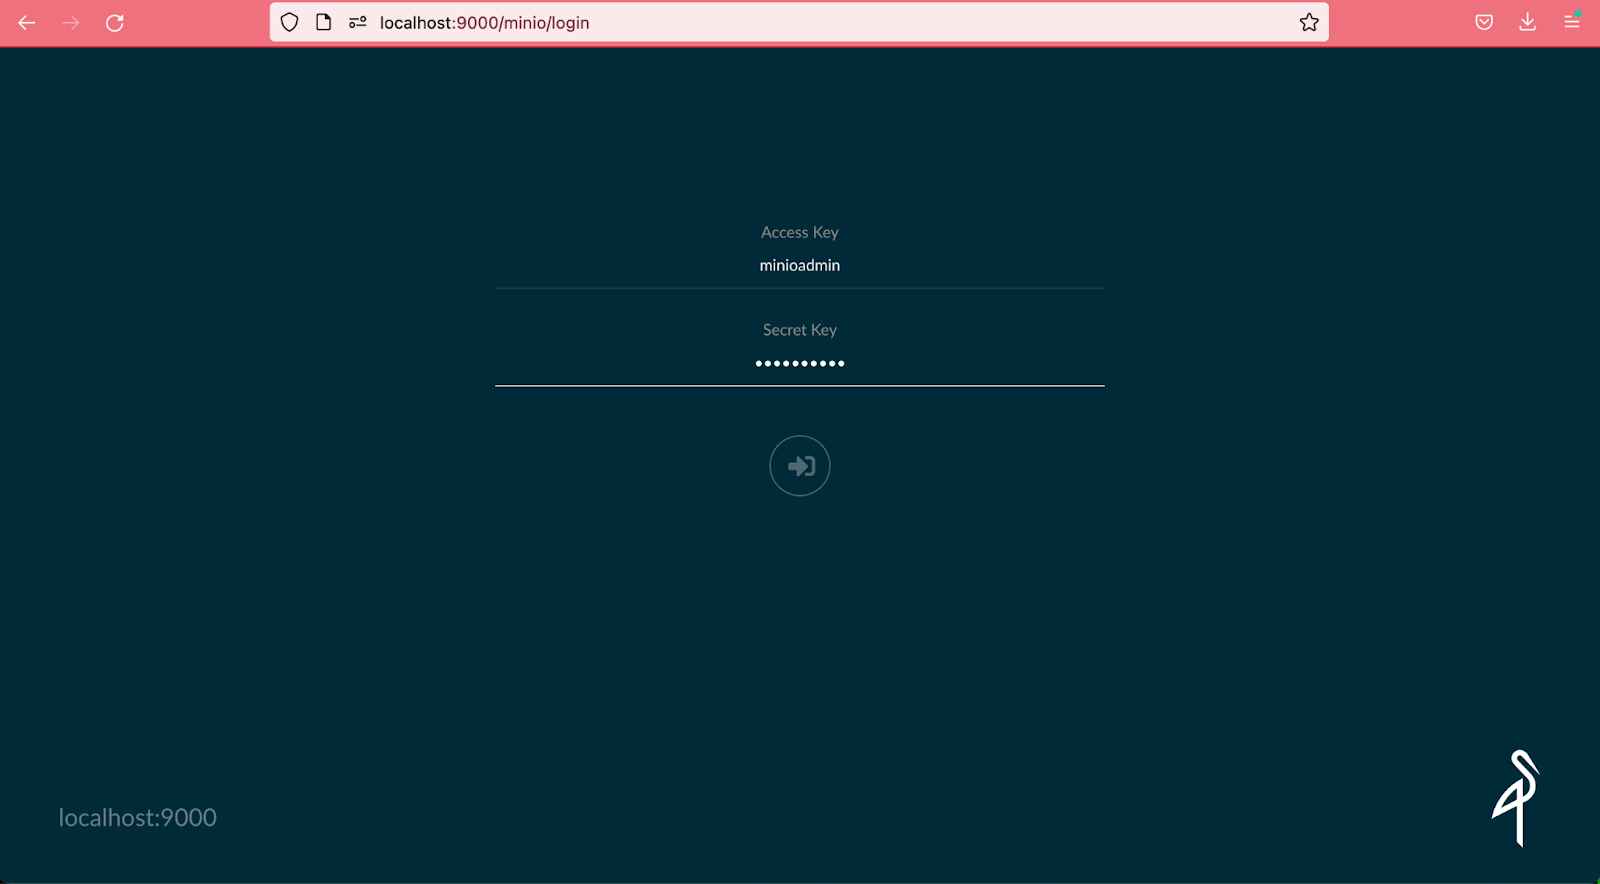
Log in to the MinIO Console using the credentials that were set in the Helm chart’s values file.
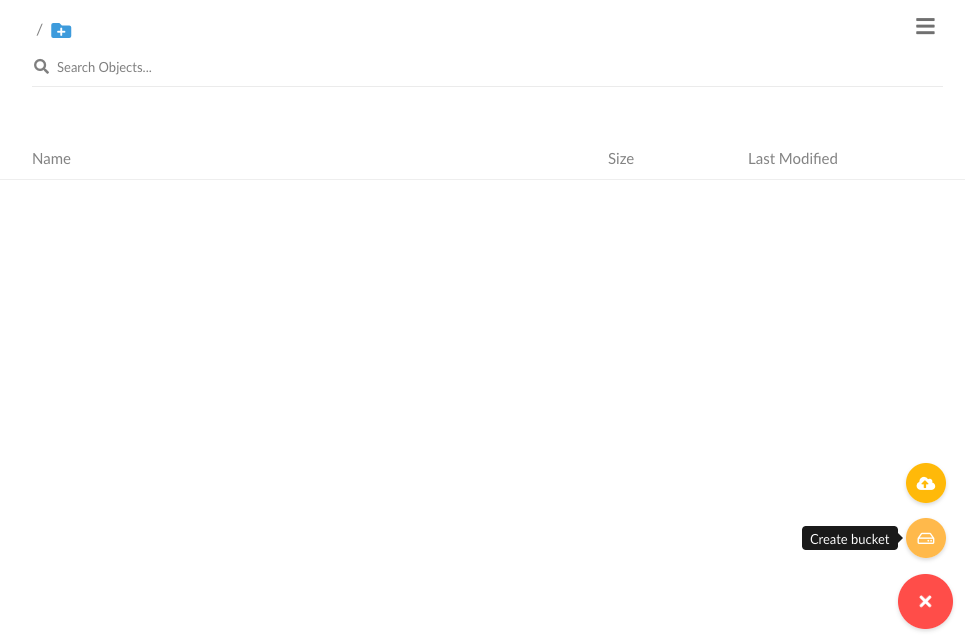
On the bottom right click on the + to create a bucket
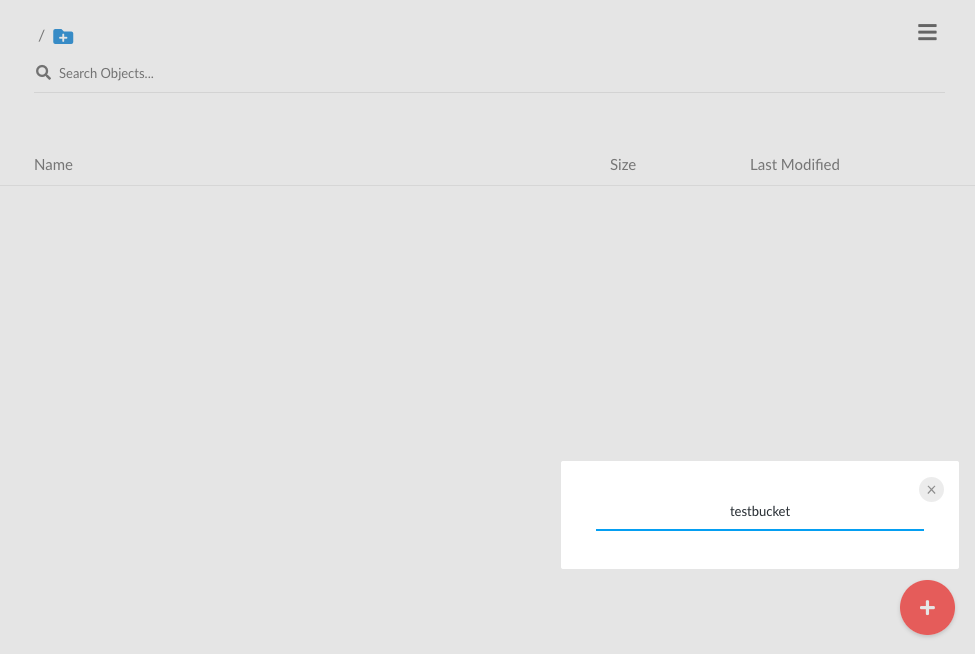
Let’s name this “testbucket”
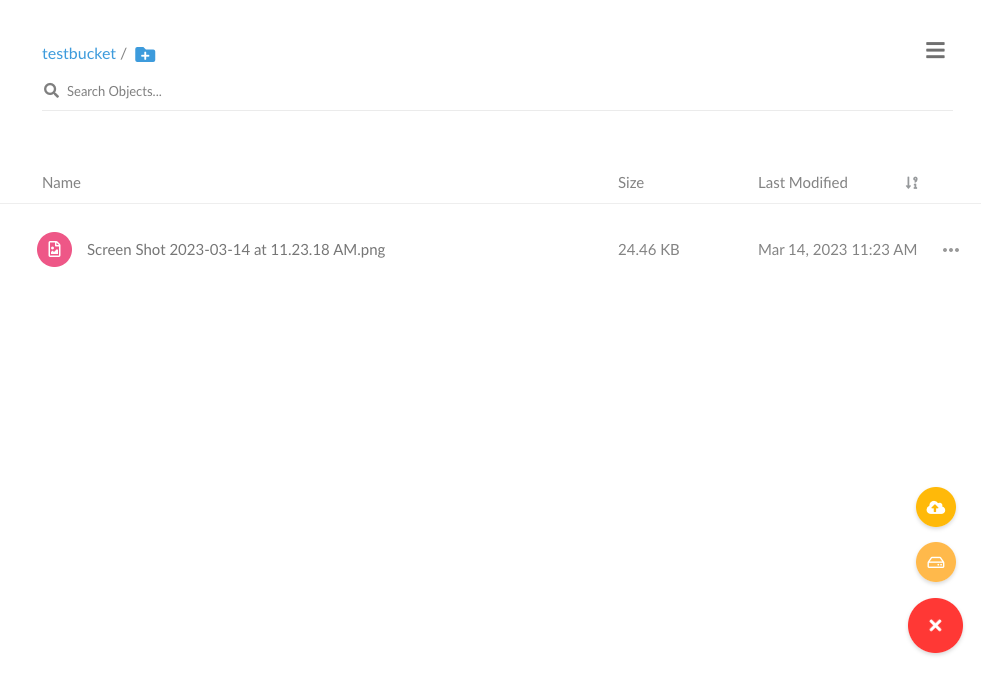
Add a test object to the bucket we just created by clicking the Upload icon on the bottom right of the screen.
Seamless, Simple and Streamlined for Multi-Cloud Kubernetes Success
At MiniO, we always strive to make our software as seamless and straightforward as possible. It starts with detailed, easy-to-read documentation and single-command deployment. You get software-defined object storage that runs anywhere from a developer’s laptop to production Kubernetes or bare metal clusters combined with the simplicity of the browser-based MinIO Console user interface. A commercial subscription adds access to the MinIO Subscription Network and ties it together,with real-time collaboration with our engineers on our revolutionary SUBNET portal. This tutorial shows you how to work with MinIO object storage and Rafay System’s management console for Kubernetes to set up Kubernetes workloads on a Microk8s cluster. Once the necessary operators are installed, you will be able to see the status of your locally running Microk8s cluster in the Rafay console.
This short tutorial can be run on a laptop to demonstrate how quick and easy it is to get started with MinIO and Rafay. Once you’ve completed this tutorial, you’ll see how simple it is to manage your MinIO object storage deployments with Rafay Systems. You can focus on running your MinIO clusters in multiple locations and connect them all back to be managed and monitored by Rafay Systems in a single pane of glass view.
With the average enterprise running 100s of Kubernetes clusters across more than 2 locations, it gives them the team autonomy and reliability with the combination of MinIO and Rafay Systems laying the groundwork for successfully deploying and maintaining applications across your entire multi-cloud presence.


