YouTube Summaries: Identity and Access Management

For our next educational YouTube course, MinIO’s Will Dinyes is covering identity and access management. This six-part series goes quick, but is packed with a massive amount of information. By the end, you should be able to set up users and groups within MinIO, assign them policies that determine their levels of access, create custom policies and rulesets, and interface with external systems like OpenID and LDAP.
First, Will provides an overview of built in policies that exist within MinIO and how to add or modify your own. MinIO comes already equipped with standard identity and access policies, identity provider (IDP), but allows you to modify these policies and use LDAP and OpenID if required by your organization.
MinIO’s default for authorized users is to deny access unless otherwise specified. These default policies are compatible with AWS policies for ease of migration, and include consoleAdmin (full access), readonly (can get specific objects, no listing permissions), readwrite (can read and write all objects and buckets), writeonly (can put objects into existing buckets, cannot create buckets), and diagnostics (for subnet access). In this first video, Will provides a demo on a new sample MinIO instance to show how to manage and edit these policies.
The next video is about using IDP to manage users and groups, either using MinIO’s built in IDP or your own. Users consist of a unique access key and secret key—basically a username and password—that can have any number of policies assigned. Users can be grouped based on sets of policies to allow for easy management within your organization. It’s important to note that when a MinIO server is set up, a root user and password are created by MinIO that defaults to minioadmin/minioadmin that is not managed by the MinIO IDP—for security reasons, it is paramount that you change this using environment variables or a config file before deploying publicly.
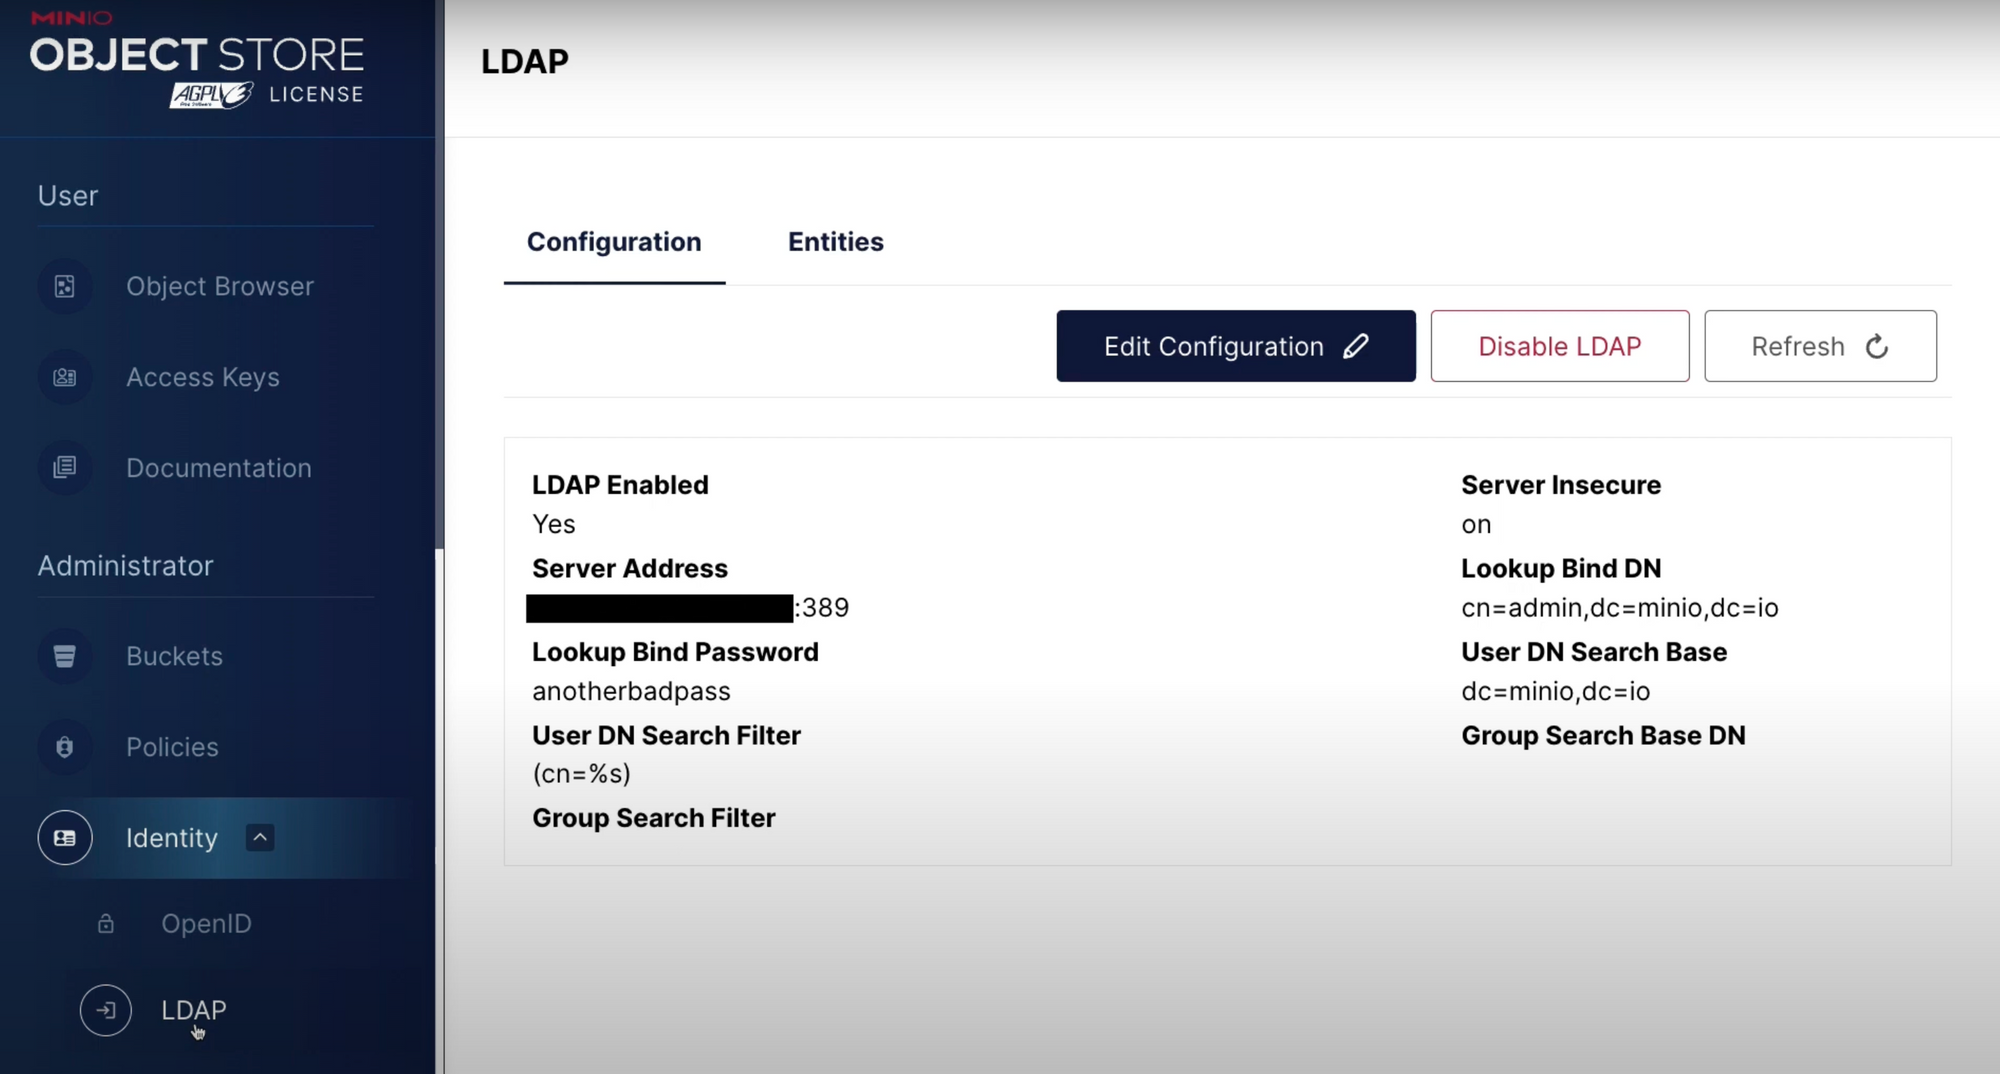
Third is interfacing with OpenID and LDAP to manage groups and users externally to MinIO. Though we recommend using the MinIO IDP if you are just getting started, in a commercial application there are many reasons you may want to move away from it—MinIO’s IDP has no single sign-on, it isn’t centralized, and it must be managed through MinIO.
When using OpenID, the policy definitions will remain on MinIO, but you can add a flag to tell OpenID to tell MinIO which policies should be attached. With LDAP, it works in the other direction—you tell MinIO which policies to attach to which users and groups coming from LDAP. When using either of these, the MinIO IDP is deactivated, but the root user mentioned in the previous video is still available. As the process gets a bit more complicated than can be described in a quick blog, we recommend following along with the second half of the video where Will runs through connecting to OIDC and LDAP.

After covering the high-level concepts in the first three videos, Will has three hands-on lab sessions you can follow where he shows how to do just about every action possible related to identity and access management—on on setting up users, groups and policies, another on creating custom policies within MinIO, and finally a demonstration on how to interface with OpenID and LDAP. We highly recommend following along with these as you set up your own MinIO instance (especially if it is a first) to ensure you do not miss anything.
Properly managing users, groups, and policies in your MinIO instance from the beginning is critical to not only ensure your data is secure, but to maximize your object store’s functionality and your team’s productivity. We hope this series helps—as always, please reach out to us with any questions, and keep a lookout for future courses on our channel.
For more detailed information about installing, running, and using MinIO in any environment, please refer to our documentation here. To learn more about MinIO or get involved in our community, please visit us at min.io or join our public slack channel. If you want to see the other summaries, you can use the YouTube Summaries tag.


